


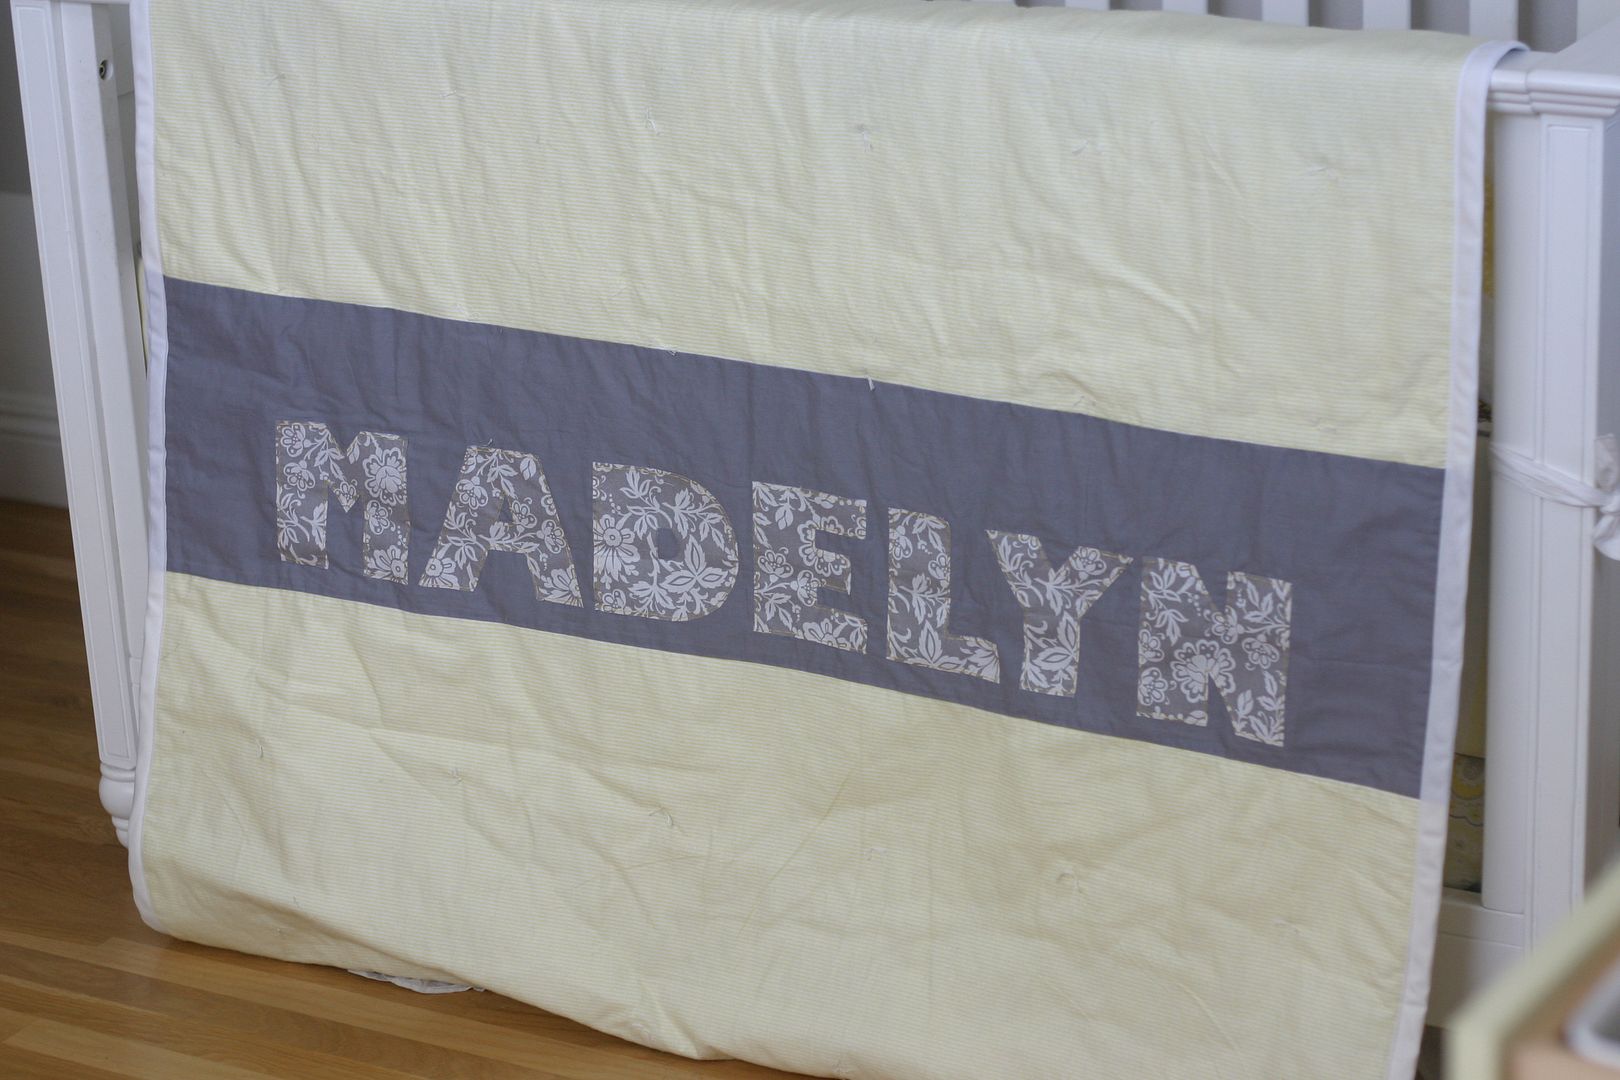
I started this quilt over a year ago and finally finished it for my nieces first birthday.
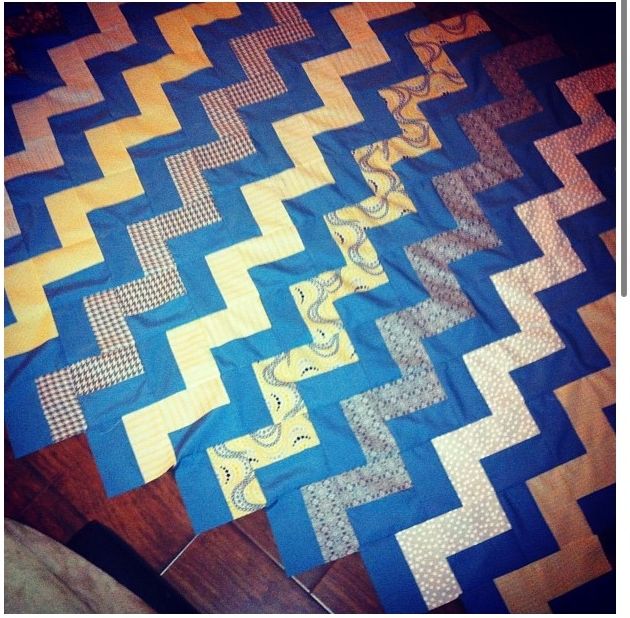
It was my first attempt at a quilt that was dictated by the precise cutting of every square. It was definitely a challenge, but one I was willing to attempt. In fact I actually ended up making two of these because the first one ended up looking too "boyish". So you could say that I might have had my lifetime fill of chevron quilts. Also, there are no pictures of this step by step...sorry. I was not expecting to blog about it...but it turns out I was more proud of this experience than I thought I would be.
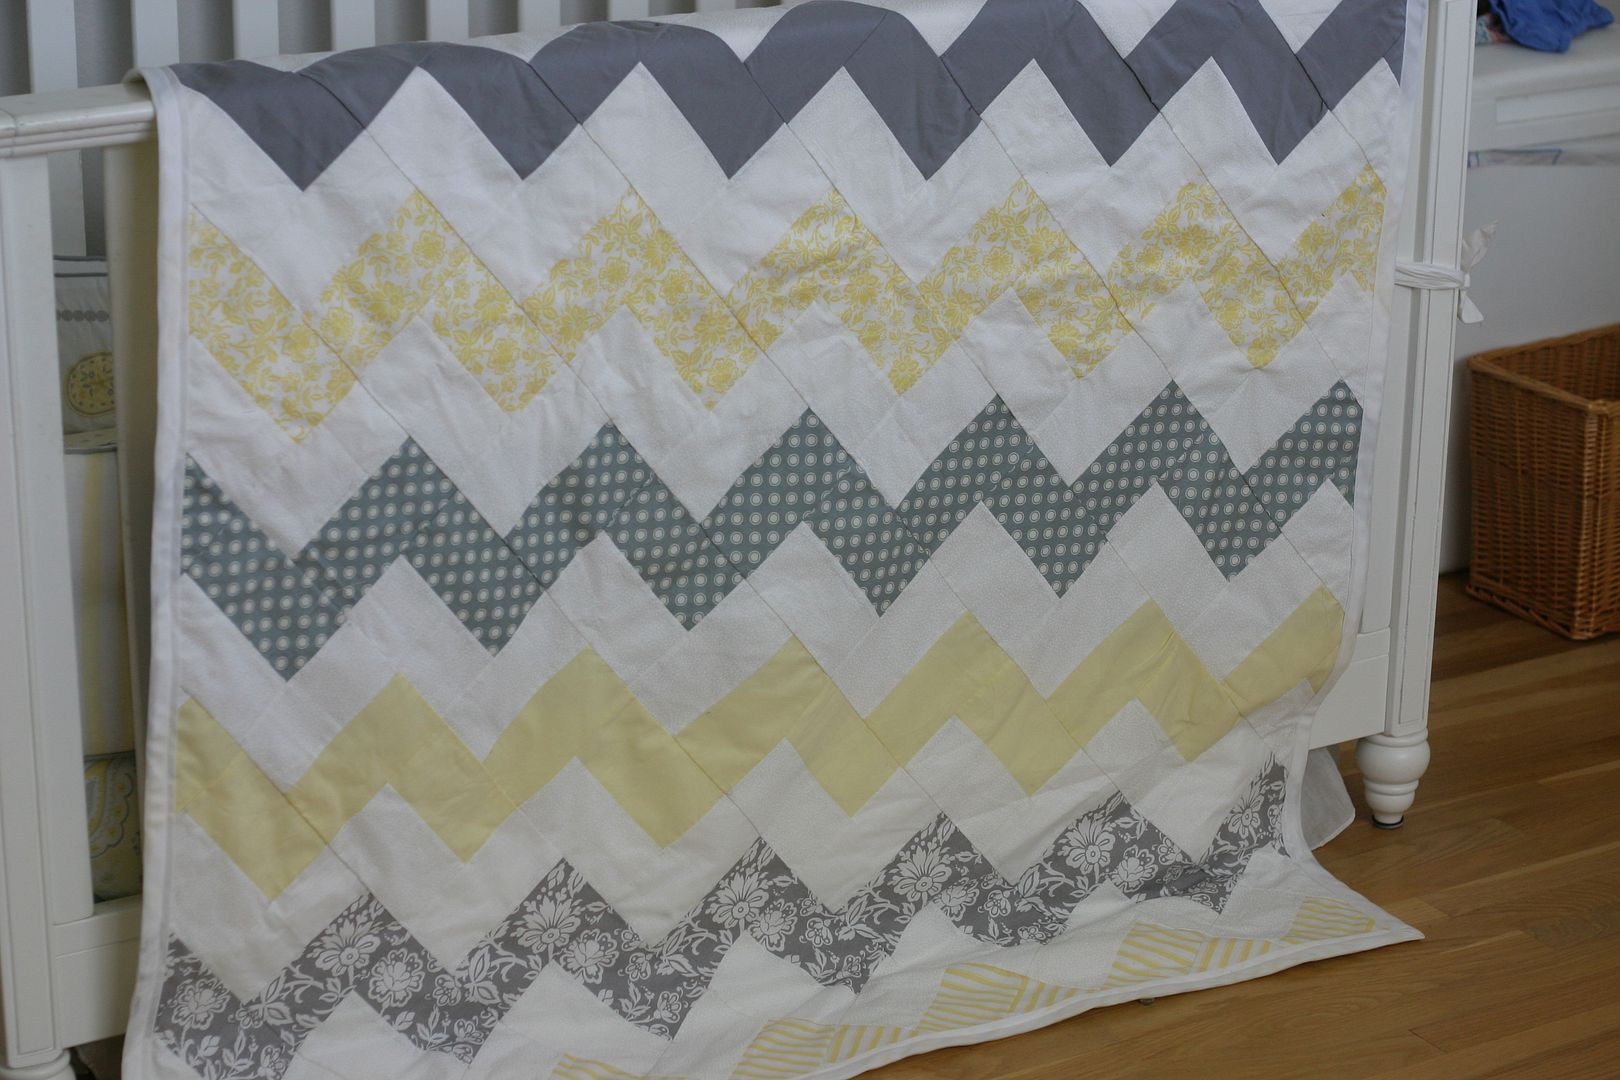
I chose to use one solid (white) and 8 colors. This kept some unity between the stripes but added a lot of depth to the quilt as a whole.
To make this quilt you will need:
1/4 yard each of 8 assorted fabrics (2 yards total assorted color fabric)
1 1/2 yards solid
1 1/2 yards for backing
Pre-made or hand made quilt binding
Prep work/Cutting -
* Measurements are assumed on a 44" bolt
Cut 2 - 3 inch strips from each of your colored fabrics. (After cutting you should have 16 - 3 inch assorted color strips)
Cut 16 - 3 inch strips from your solid fabric
Assembly -
* All seams are sewn with 1/4 inch allowance
Sew one of your color strips to one of your solid strips. Right sides together. Open and press seam toward the solid. Continue this step with the remaining color and solid strips. When finished you should have 16 strips that are 5.5 inches x 44 inches and are composed of 1/2 solid and 1/2 color.
From each of the 16 strips cut 7 - 5.5 x 5.5 squares. This will give you 14 - 5.5 x 5.5 squares of each color/solid combination.
Now you are ready to lay out your quilt top. This part is kind of tricky and I wish I would have taken pictures but unfortunately this is the best I can do.

The reason this quilt was so tricky for my eye was because the quilt top was not a perfect straight edge rectangle and I kept getting confused with my placement. But once you start, the placement gets a little easier. Once you place all of the blocks, you will have to trim all four edges to create the straight lines of the quilt top.

Sewing the quilt top:
*In this quilt it is very very important that you use a 1/4 inch seam exactly and that your blocks are all the same size. Otherwise your chevron will not match on the final quilt top.
Using the drawing above, start sewing the blocks together from one corner of the quilt to the opposite corner. Your first row should be two blocks. Sew the blocks right sides together using a 1/4 inch seam allowance, open block and press seam open. Continue sewing your blocks together row by row. This part can also be a little confusing as you are trying to keep your pattern in order. I suggest taking each row right before you sew it and placing it on the table in front of you, instead of grabbing one square at a time from the floor. I found this to be helpful in keeping my blocks in the correct order.
Once you have all of your blocks sewn into complete rows, you are ready to sew the rows together to create your quilt top. This part can be the most time consuming as it can sometimes be a challenge getting your seams to line up. But, it is very important to take the extra time so that your chevron doesn't look all wonky. You can see in the first picture of this post that my dark grey chevron didn't quite match up, this was because I was anxious to finish the dang thing and didn't take the time to correct my mistakes.
Once your quilt top is finished it will look like this:
With pointed edges. Using a rotary cutter and a straight edge cut the points off of all four sides of the quilt, creating a nice clean rectangle. Now, using the finishing method you prefer, bind your top, batting and bottom. This is great tutorial on finishing a quilt.
This finished quilt is crib size, 45" x 60".


