


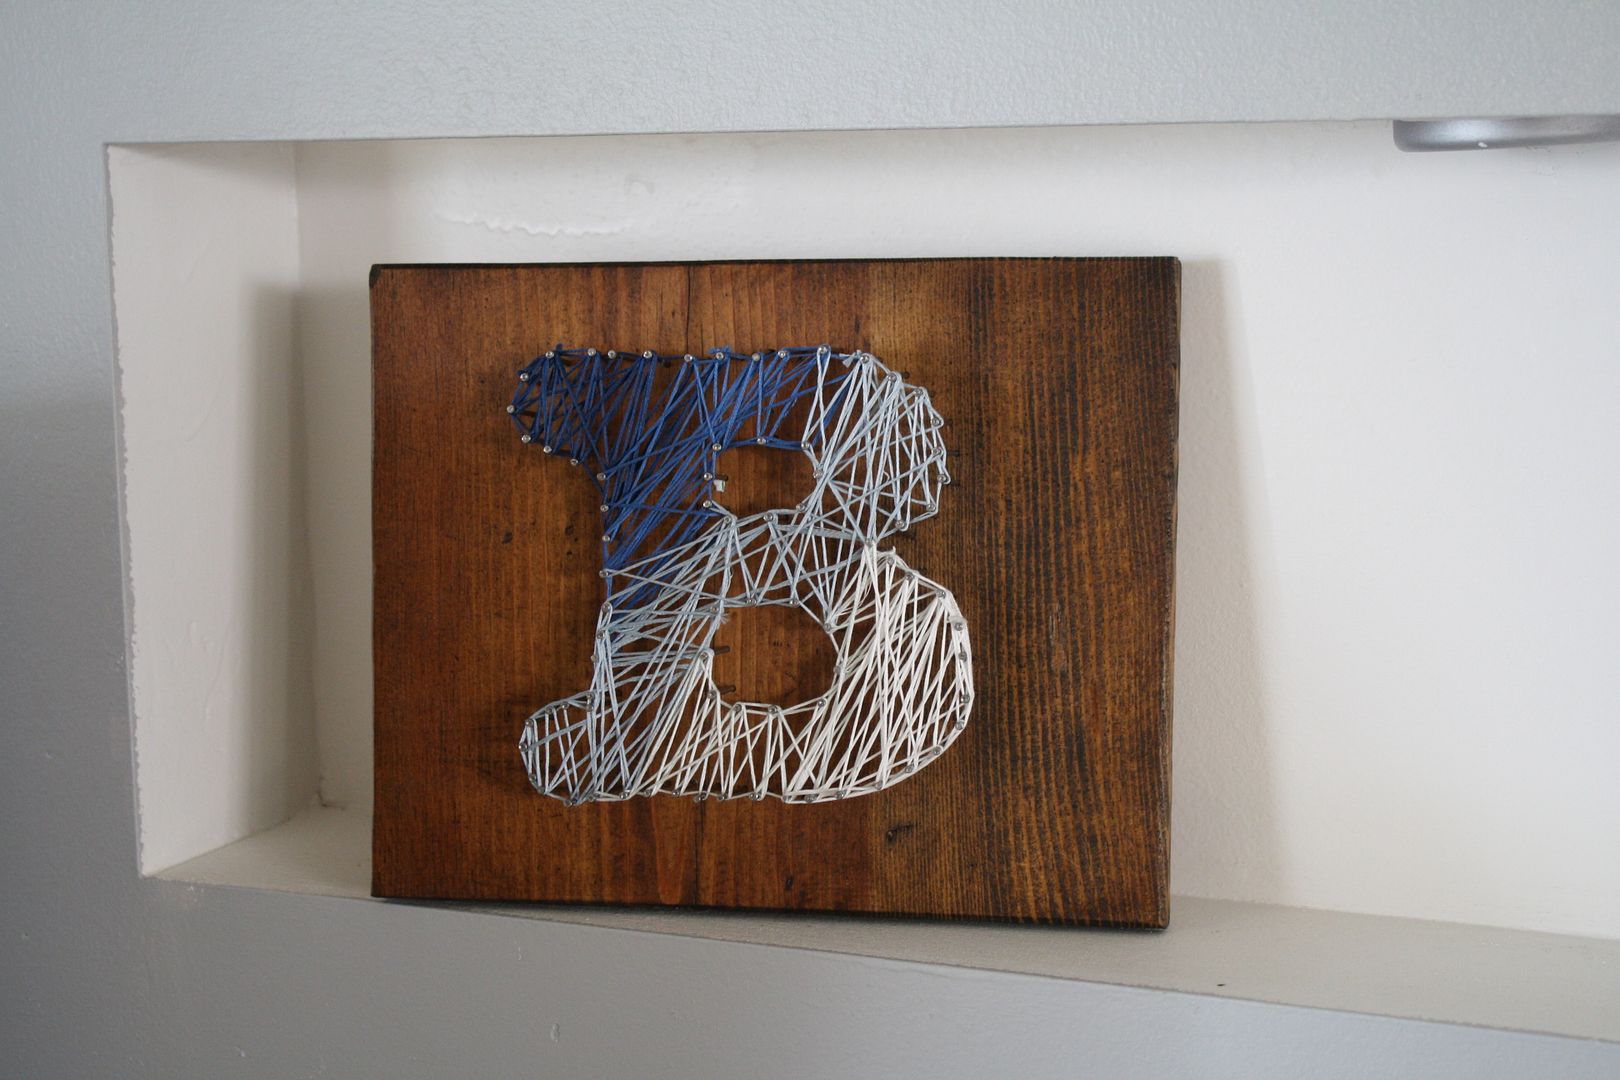
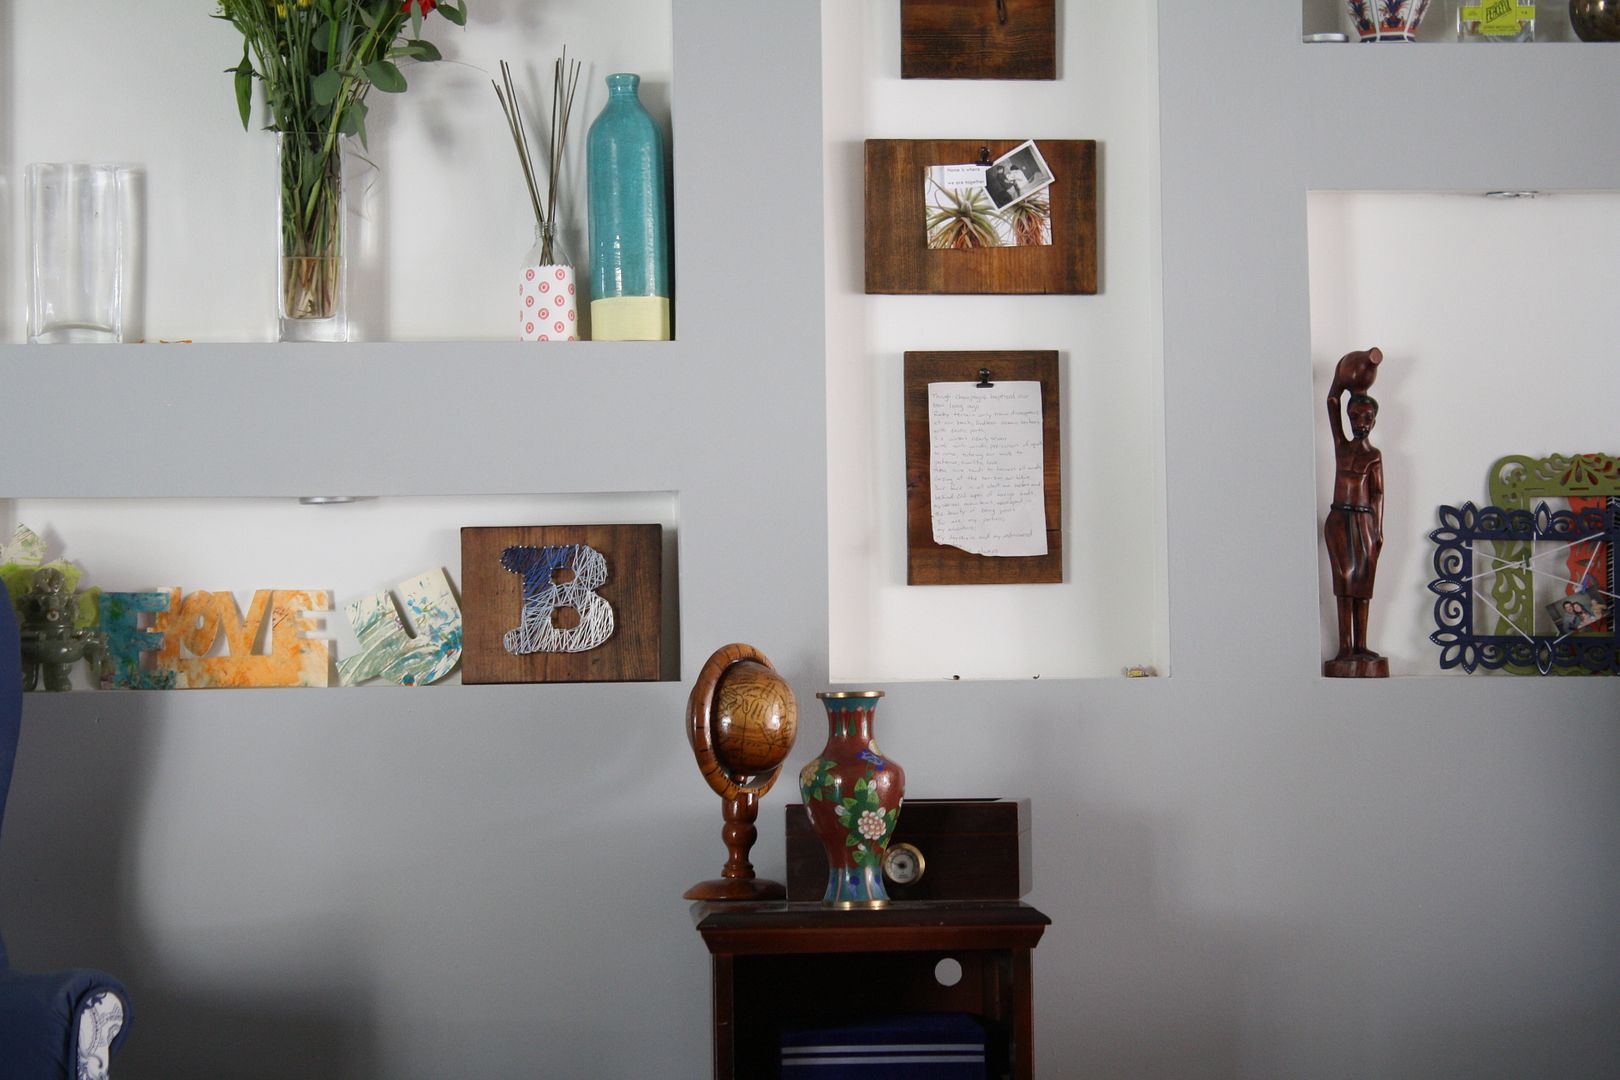
This was a surprisingly easy project. I had an extra piece of wood from my homemade clip board project...also in this picture and also a Pintrest find...and I decided to create a "B" for our undecorated nooks.
What you need:
Nails
Wood
Hammer
String
Design Template from paper
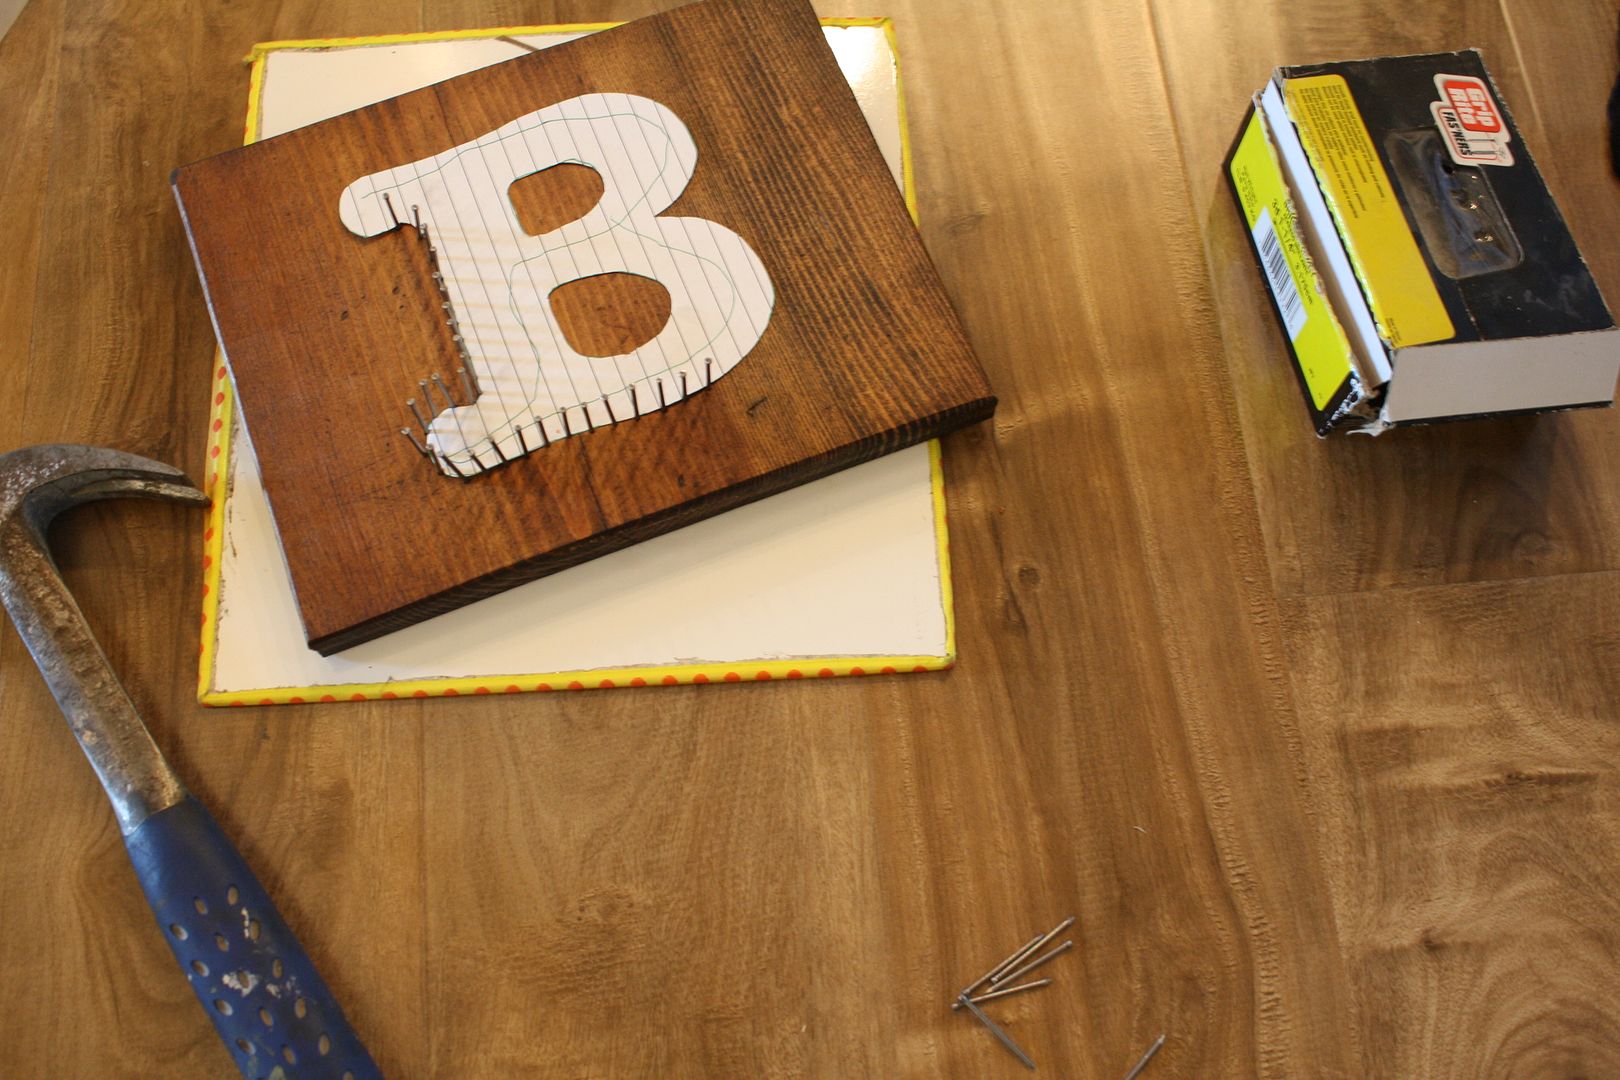
How to make it:
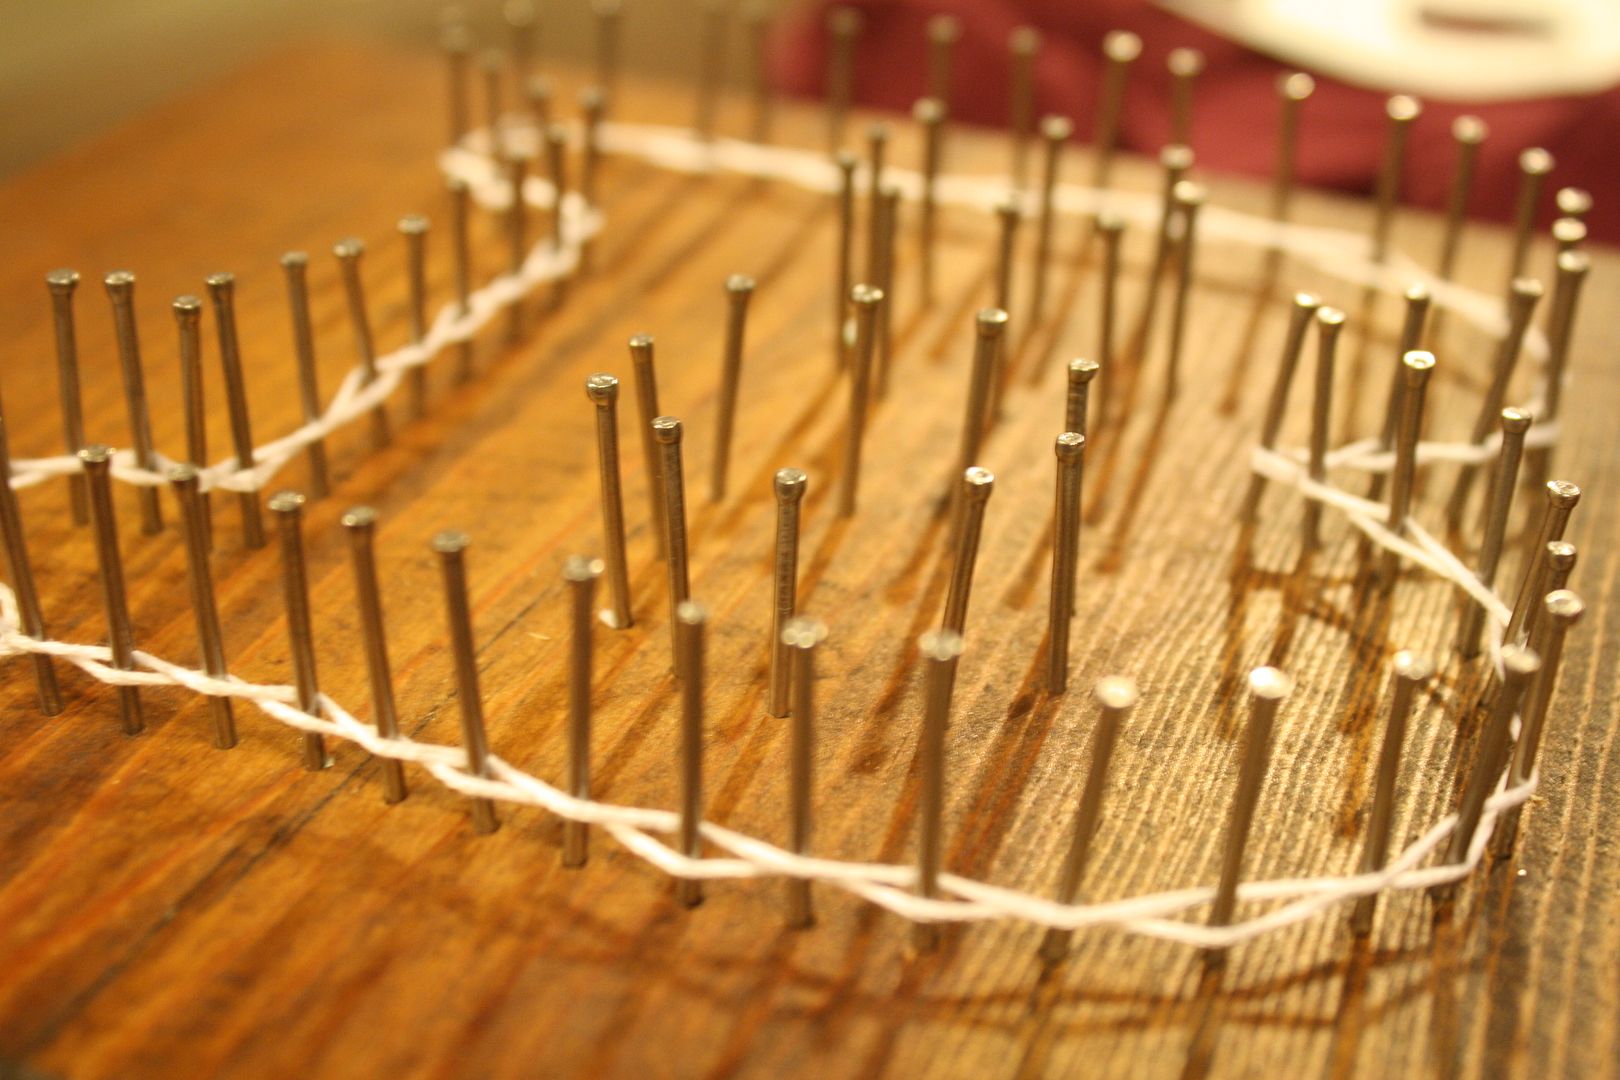
Using your template hammer the nails in even spacing around the shape. I didnt worry to much about the actual spacing or whether the nails were exactly straight because my shape was so simple and the actual design was not that important to the final product. The more detail your design the more nails you will need and the more important spacing and straight nails will be.

When I was all done with the design I just quickly used my fingers to straighten some of the nails that were very obviously crooked.
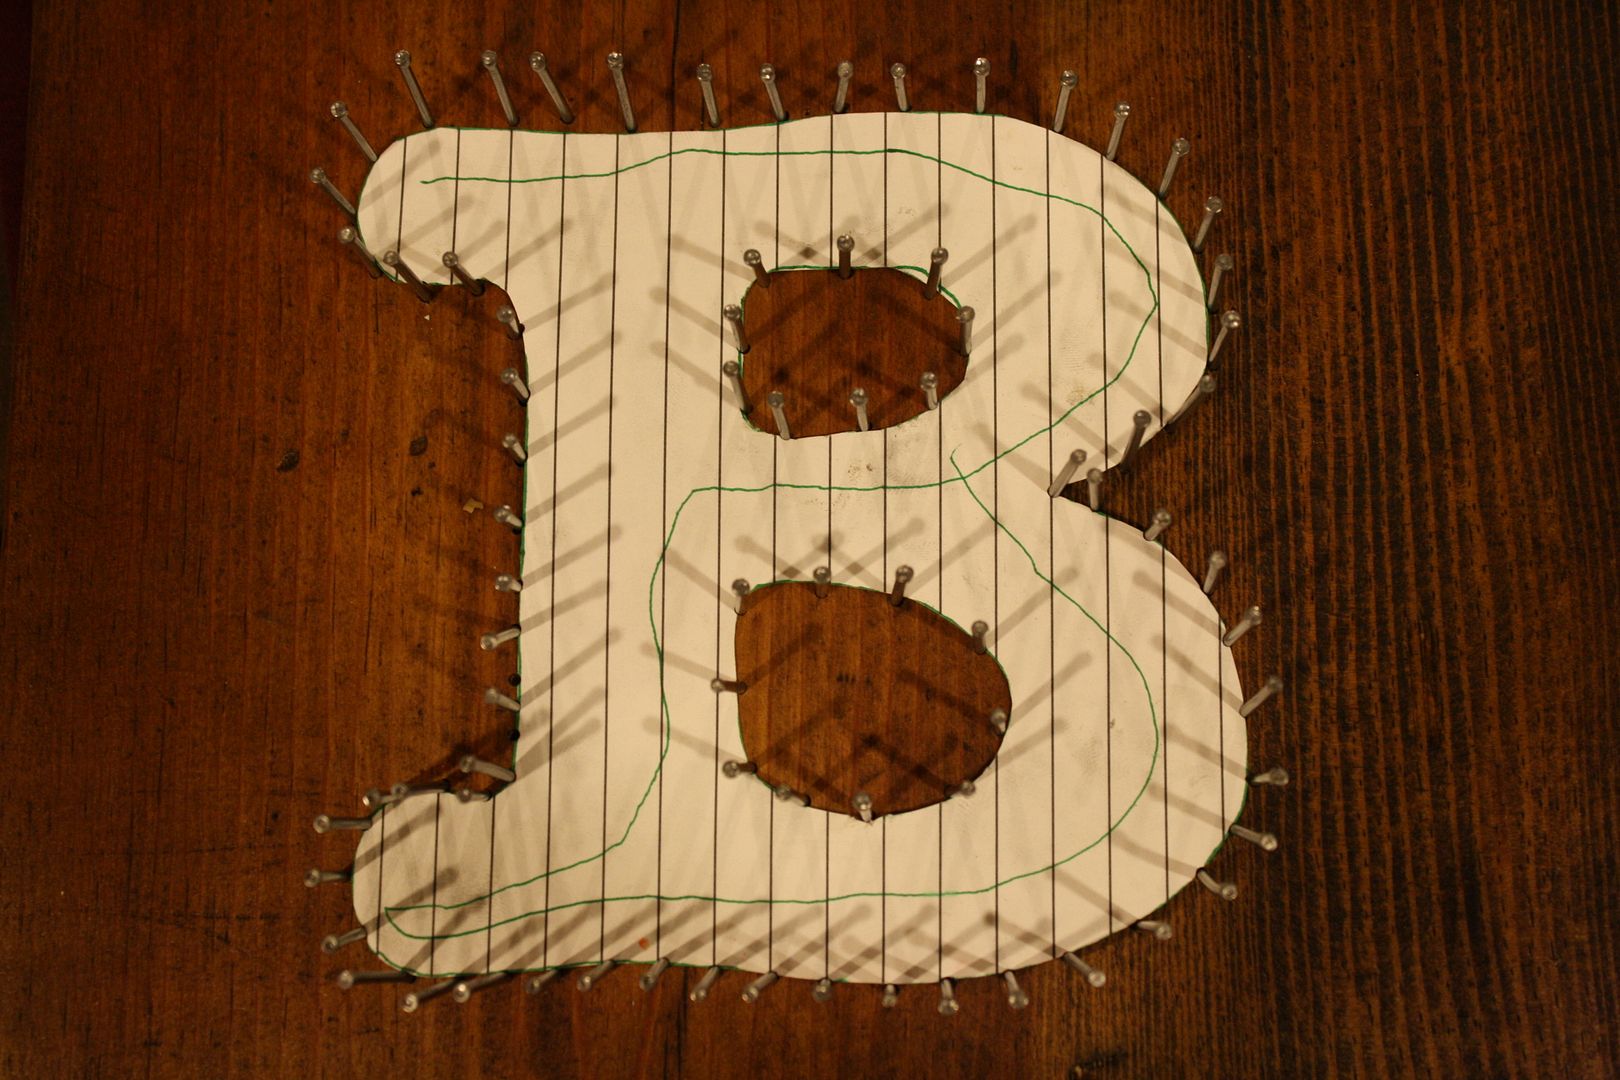
Take out the template and begin stringing the nails.
Start by tying a knot around one nail leaving a tail. You will use this tail at the end of the stringing to create a final knot.
I started by outlining my image to create a clean line.
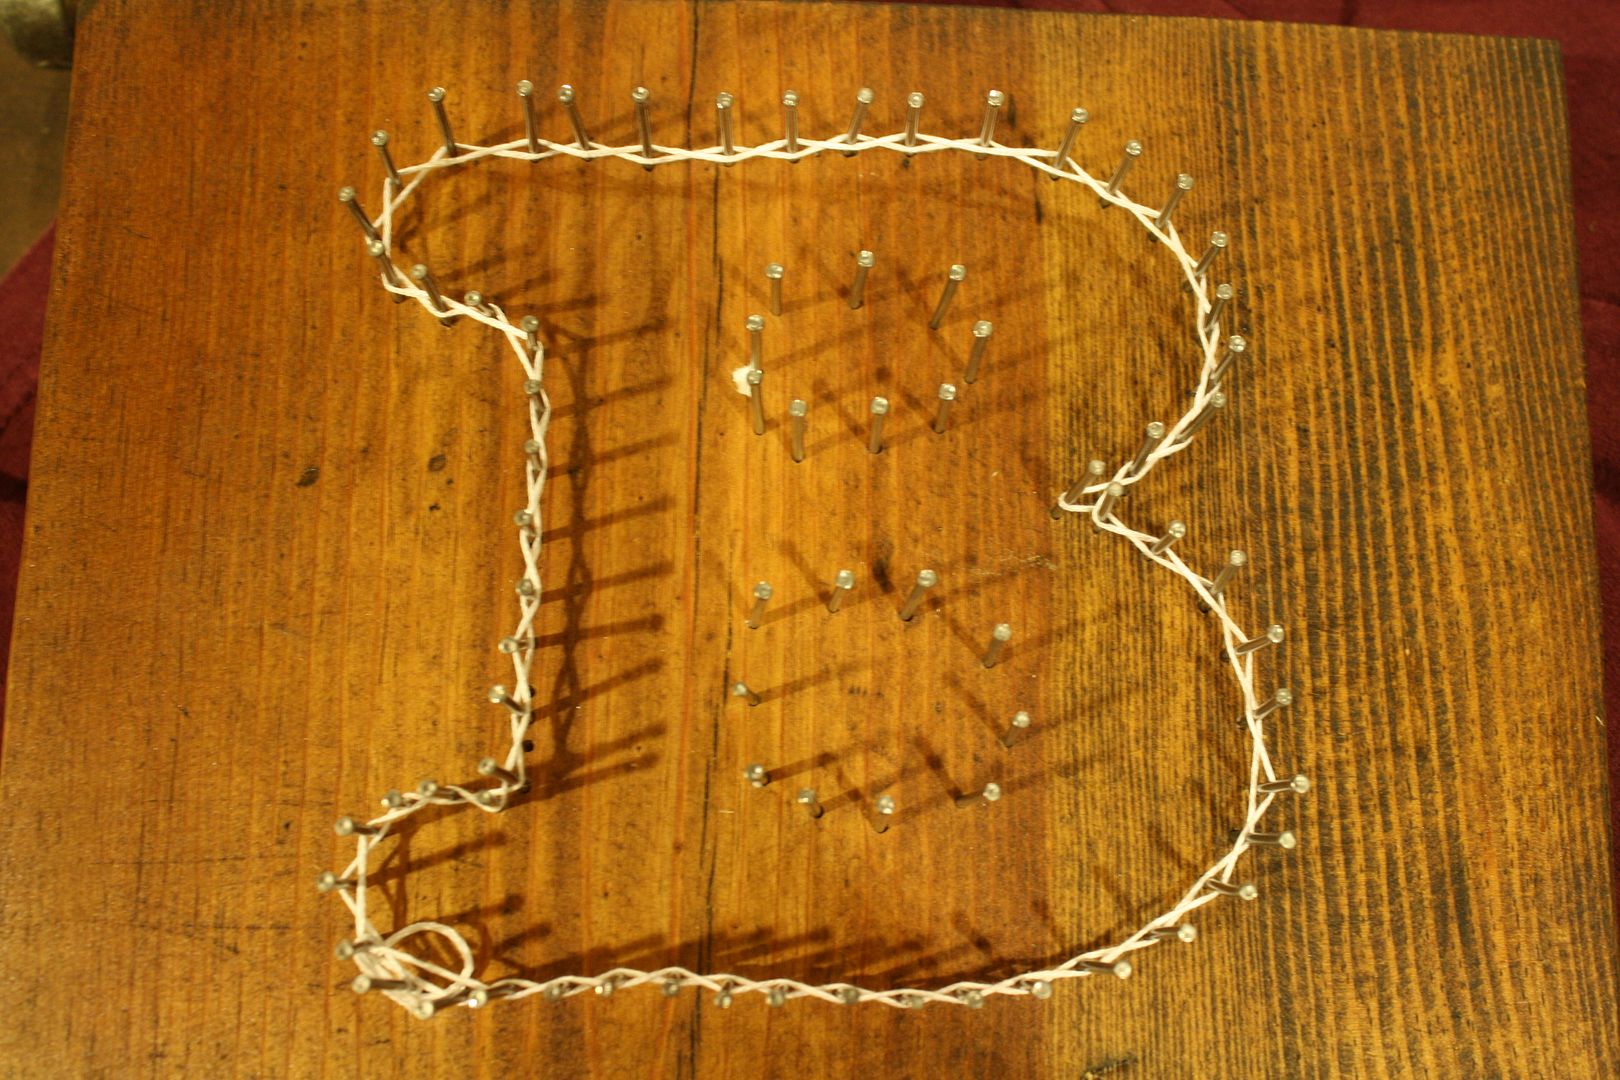
From there you can just zig zag around the shape until you fill it in as much or as little as you like.
There is no right or wrong with this project.
When you are finished with the zig zagging, return to the nail that you started from and use the tail that you left behind to tie off the string. Knot the string a few times and cut. Use super glue or clear nail polish to solidify your knot and to keep it from unraveling.
Enjoy!


