


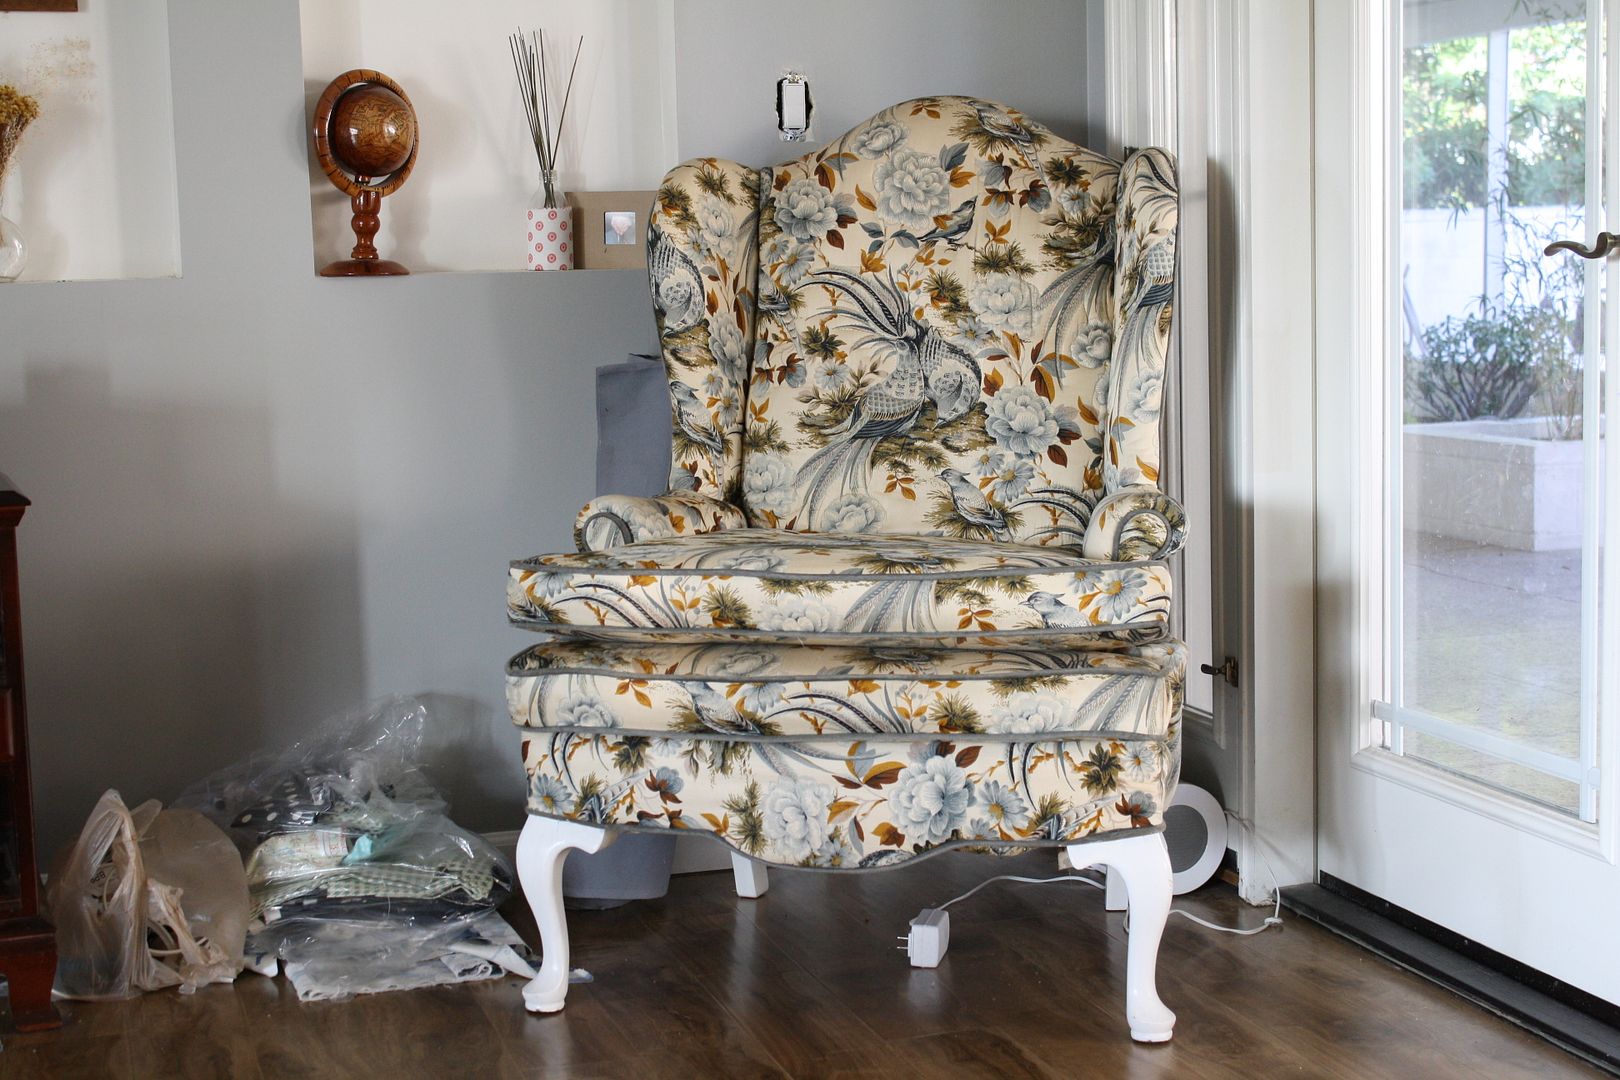
in navy...
and I really did not like it. It was boring and the fabric magnetized all thing dirt. A week after switching to navy the arms were brown with clinging dust. With two kids, I knew this was not going to work. So I decided to bite the bullet and start over, this time on my own. The daunting task of doing this all on my own had me cringing every time I saw the dirty chair in the corner...but the boring navy was just so boring that I finally decided it was time. The only way I was going to tackle this project was by taking crazy notes, filling my camera with pictures, and labeling EVERY corner of EVERY piece. So without further ado...reupholstery 101...beginner style.
What you need:
Needle nose pliers
Bowl to put staples...there will be A LOT!
Enough fabric for your type of chair - click link for chart...make sure your fabric is thick enough and will hold up to lots of stretching
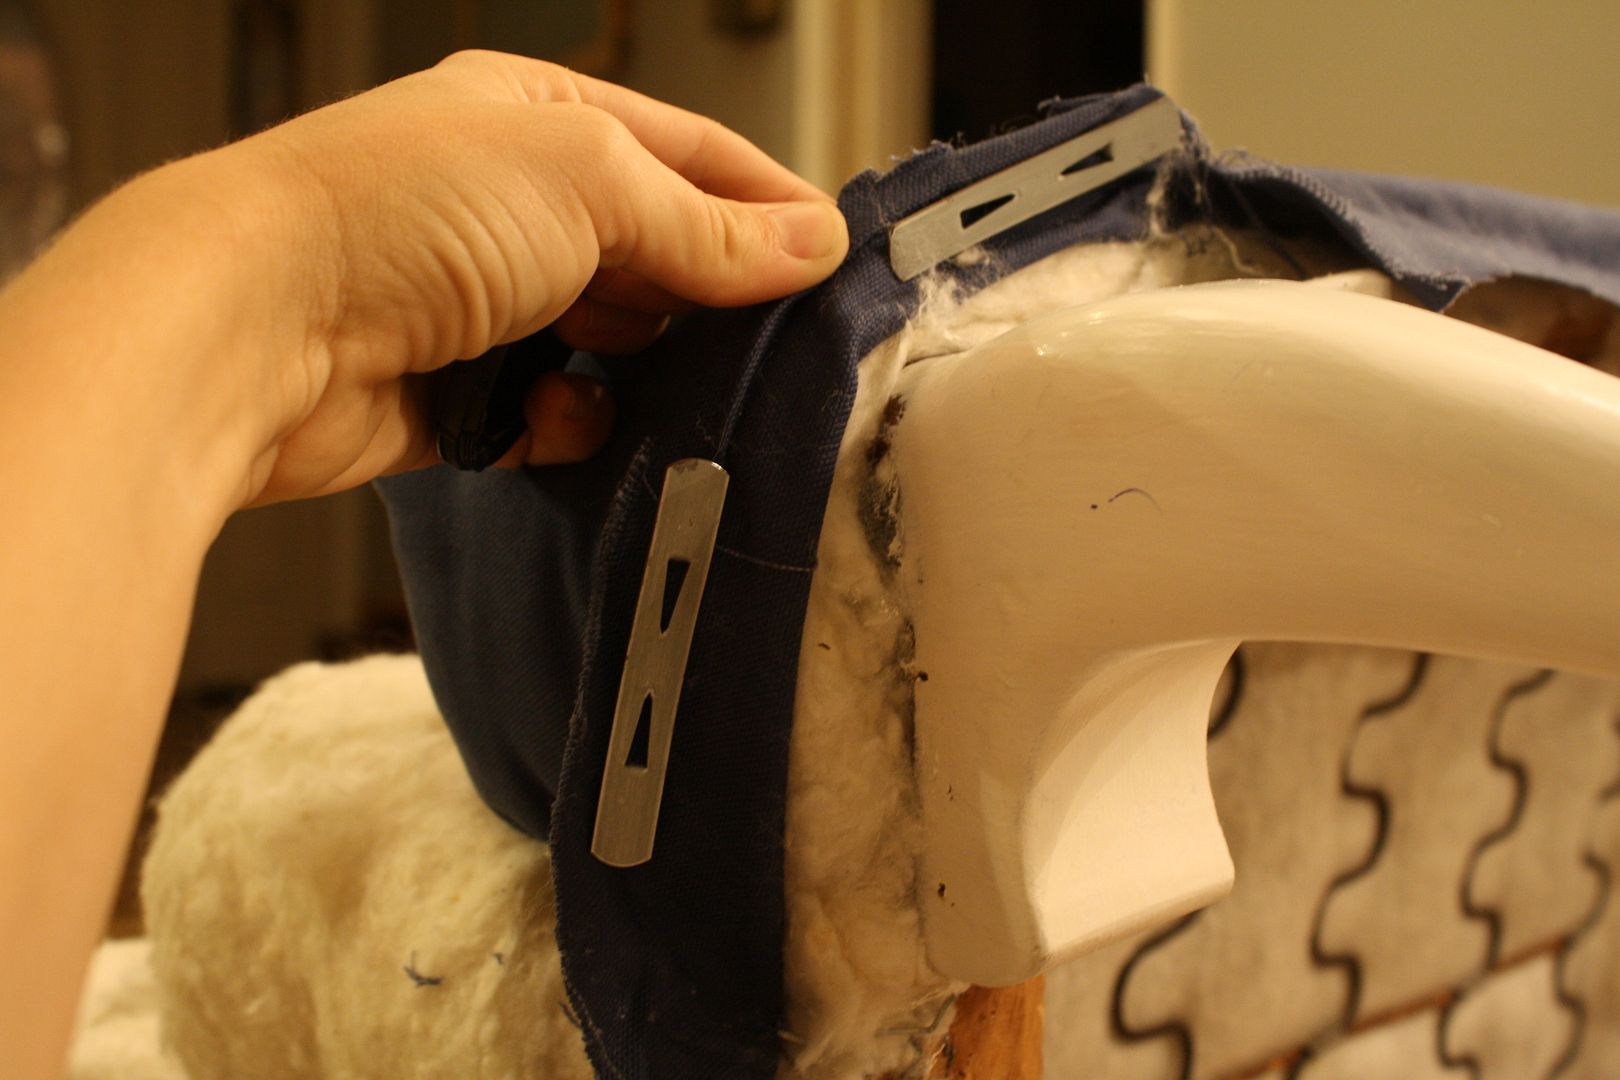
Upholstery tack strips (try to save as many as you can from the original upholstery)
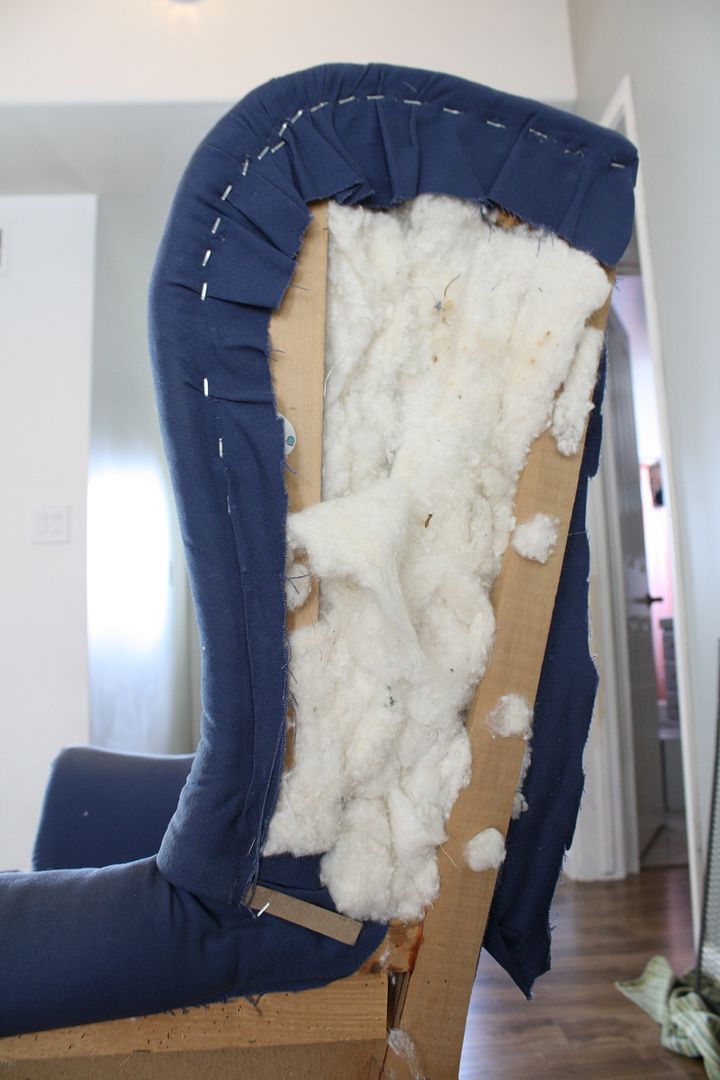
Cardboard strips (my chair finished some of the hard to staple edges by rolling cardboard strips instead of stapling)
Flexible metal tack strip to cover any curves (this can not be saved from original upholstery)
Staple gun
Paper/marker for labeling your pieces
An extra hand for stretching and stapling
Patience
What to do:
1) Chose which side of your chair is your left and your right. This will help you keep track of your pieces and as you label them use left and right in the beginning of every description so you know exactly where they belong when putting the chair back together.
2) Take pictures of everything BEFORE you start. Every corner and every detail that you will want to recreate. Thankfully, I have two of these chairs to recover so I still have the second chair as a reference.
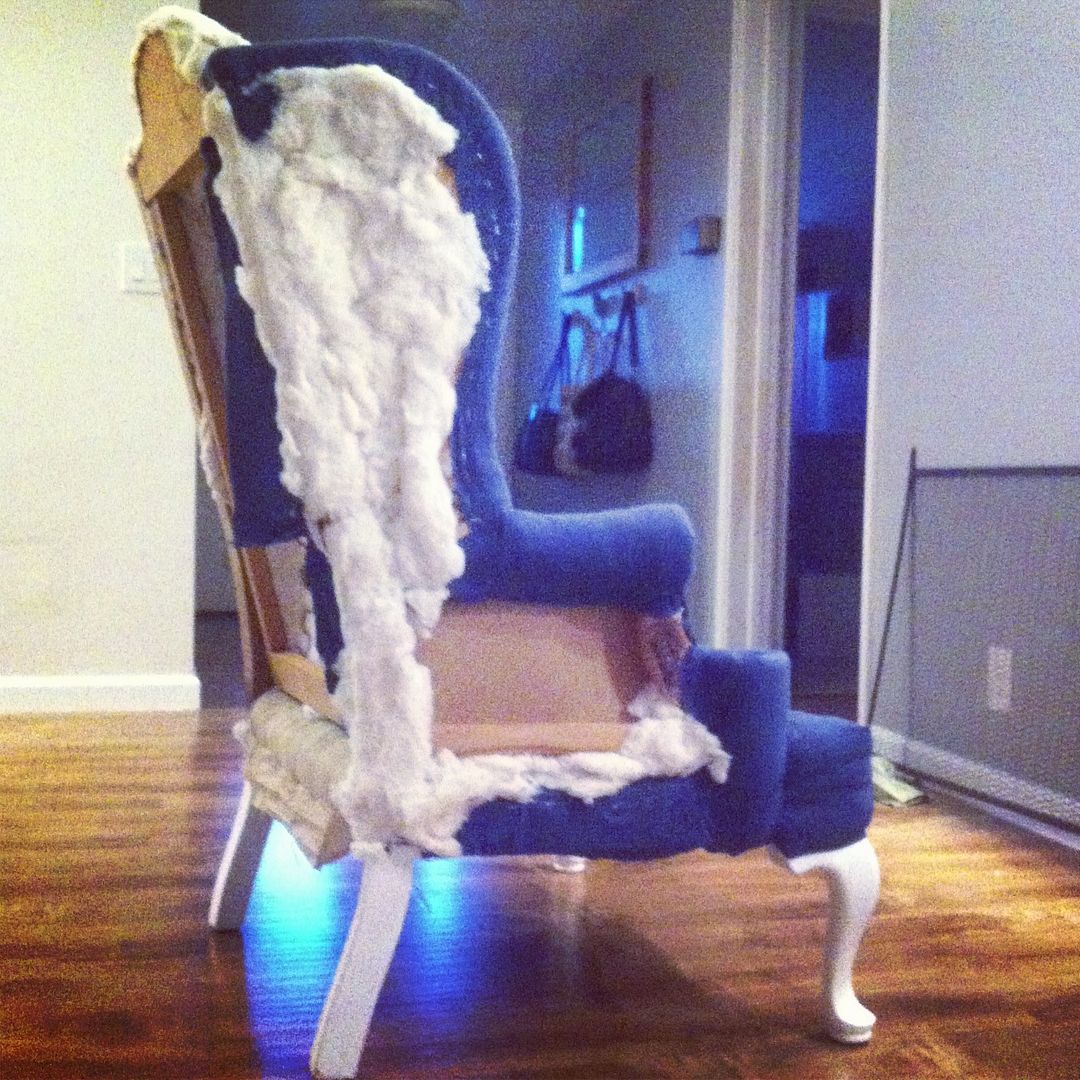
3) Start by removing the back piece. This is typically the last piece put onto the chair so it will be the first place to start. After this you will be able to see the inner workings of the chair and decide what piece is next. Take pictures of the chair without the back. This will be a reference for when you are ready to put the pieces back together.
4) Before doing anything, look closely (and snap pictures) at every piece of the chair and where each piece is tucked and stapled, then decide which piece has to be removed first.
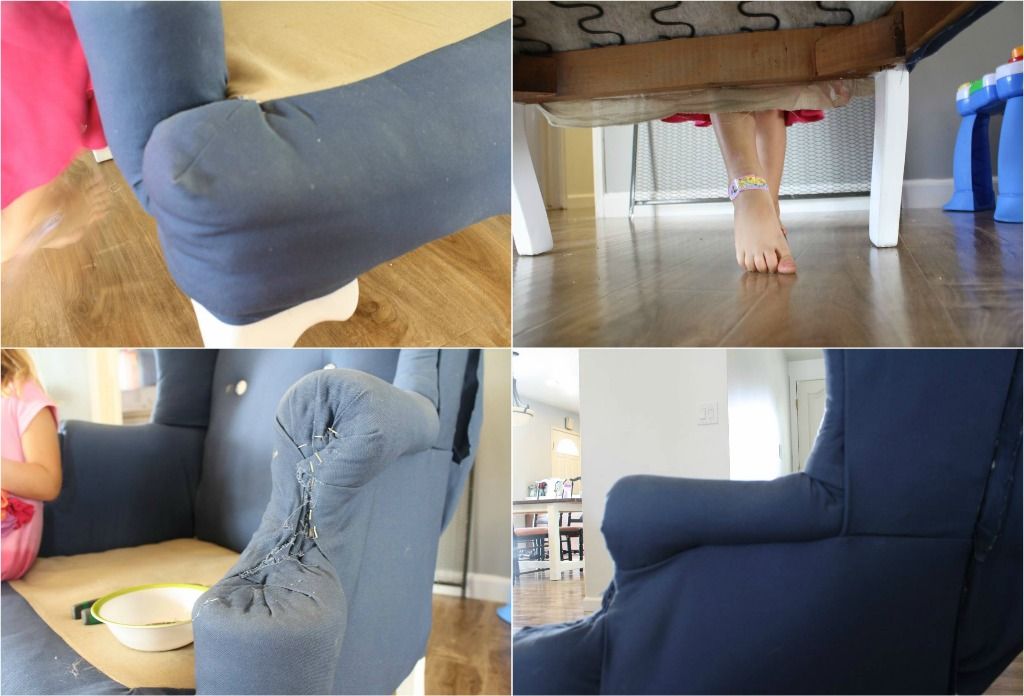
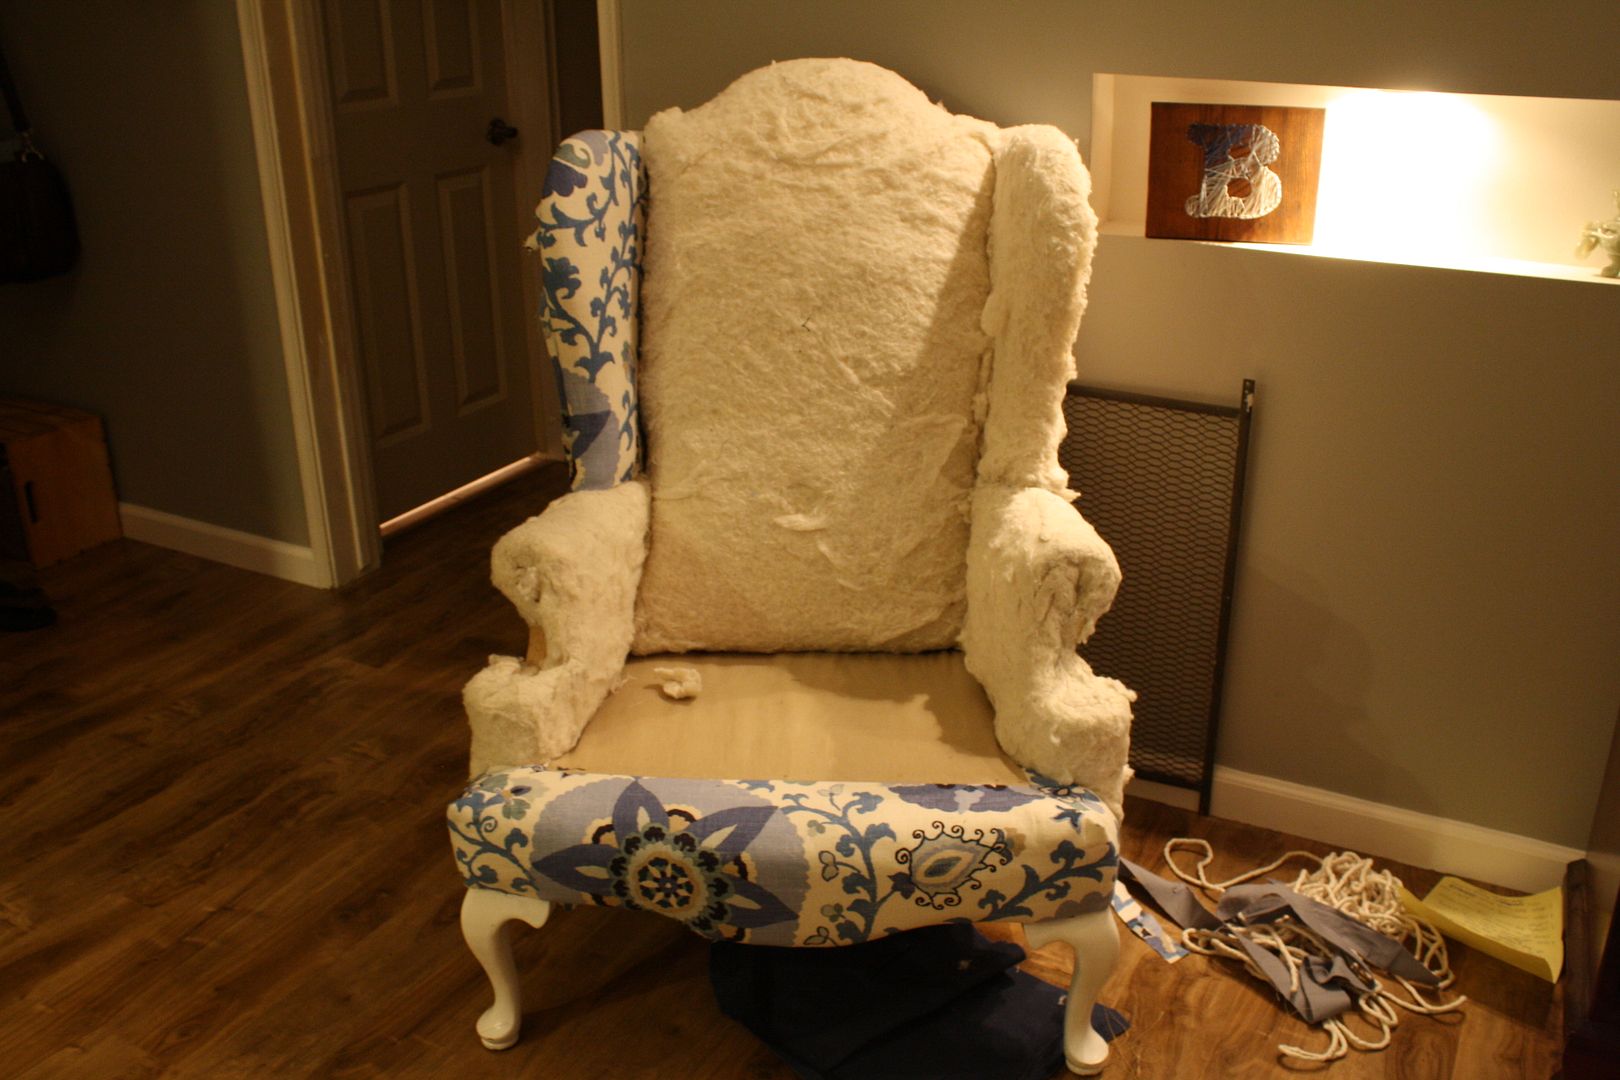
5) As you slowly and painstakingly remove staples, take each piece off of the chair. Make a list of each step. List every set of staples removed. This will help in the end to know which order everything will be replaced. You will be able to start from the bottom of your list and work your way up. This part is sort of like a puzzle. Pay close attention to where everything comes from and where everything will go. Including the use of tack strips and cardboard. And if you are afraid of a failing memory...take a picture.
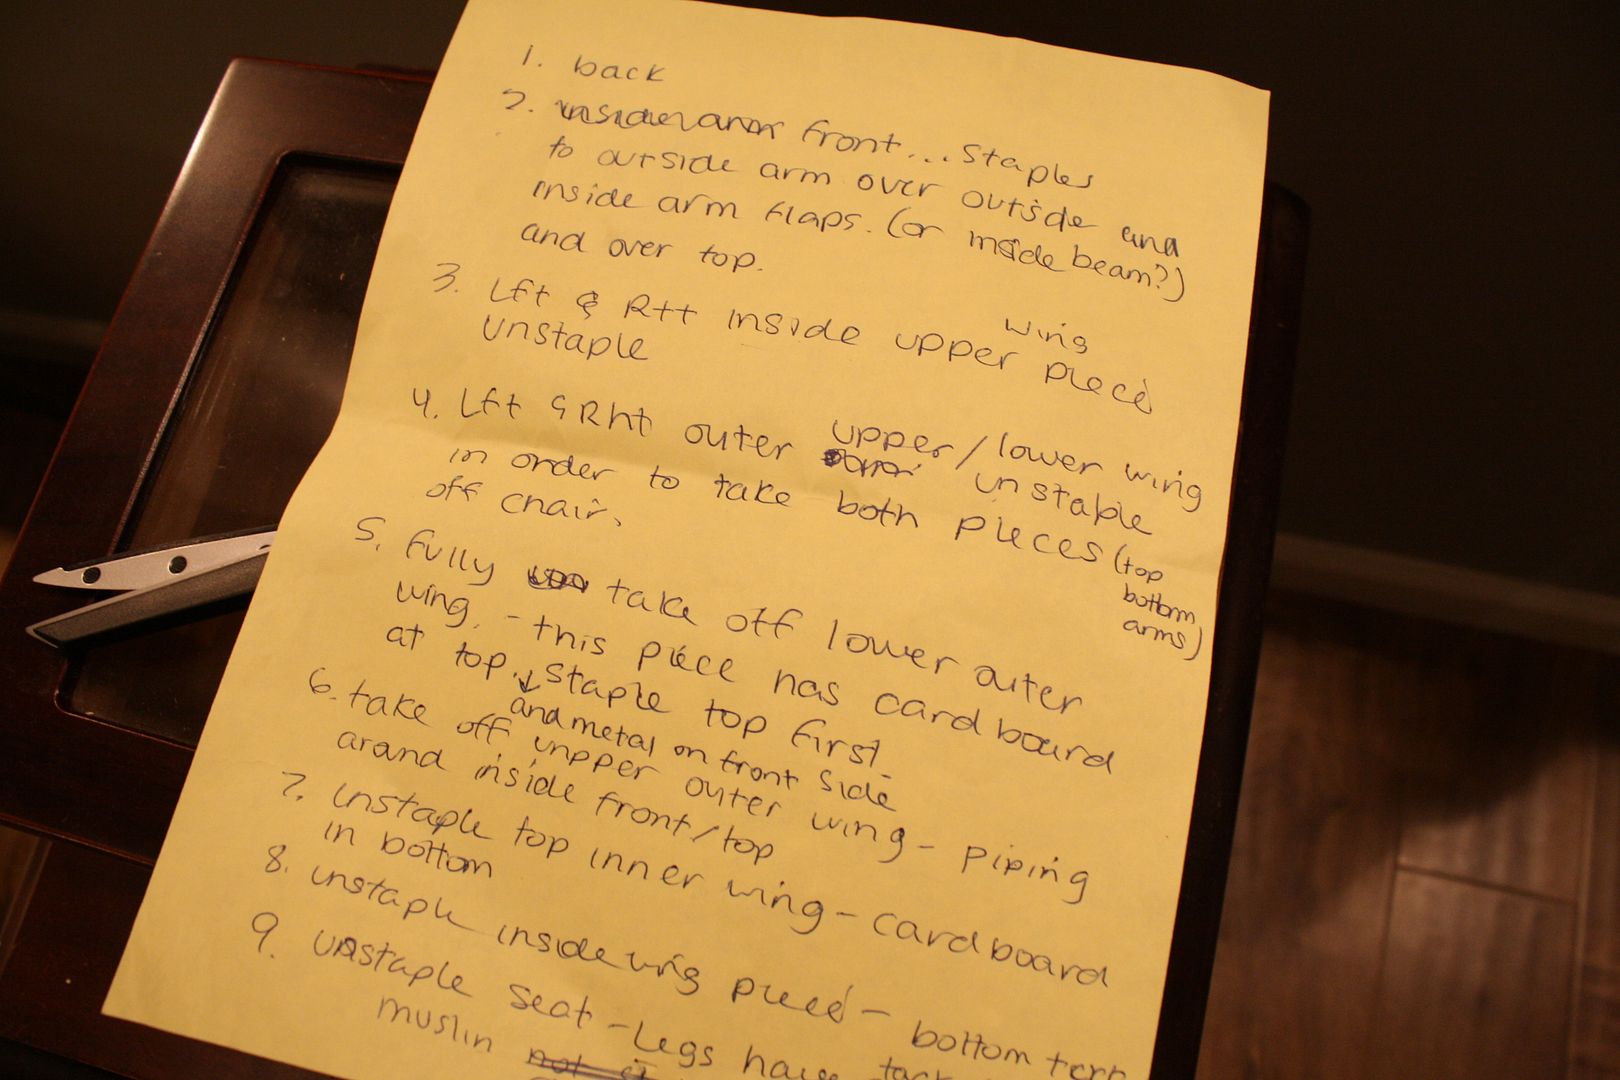
6) When you remove a piece be very careful to label exactly where the piece was stapled, which direction the piece goes on the chair, how the piece was attached, where the piece was tucked and if it had any extra "helper" pieces. i.e. cardboard strips or tack strips.
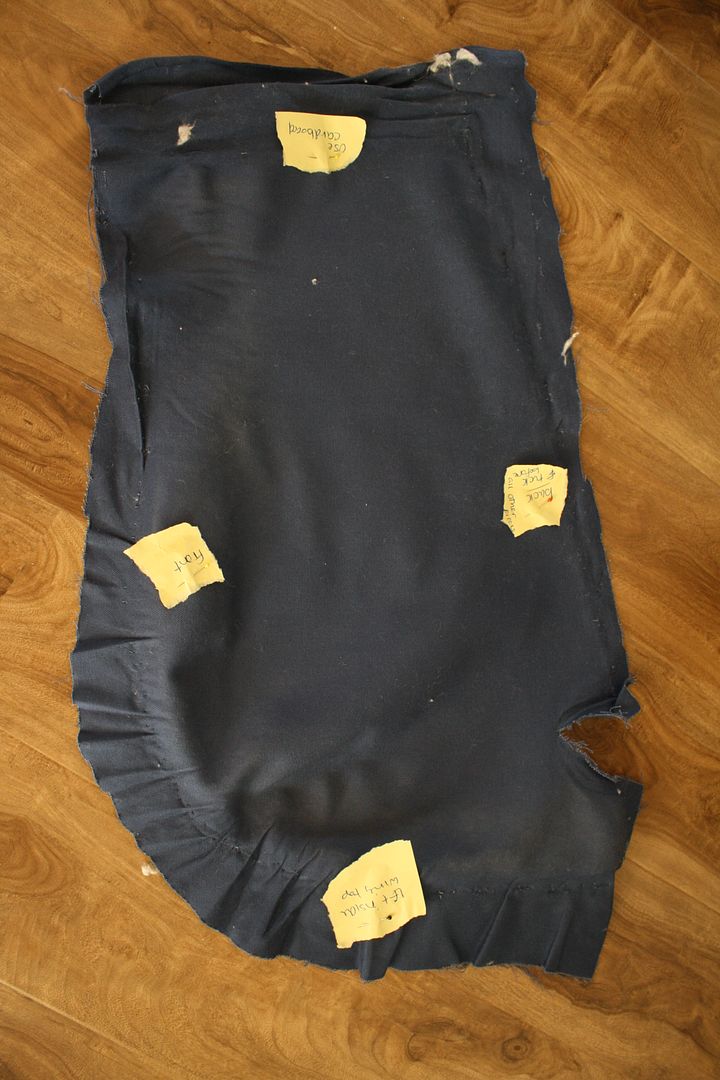
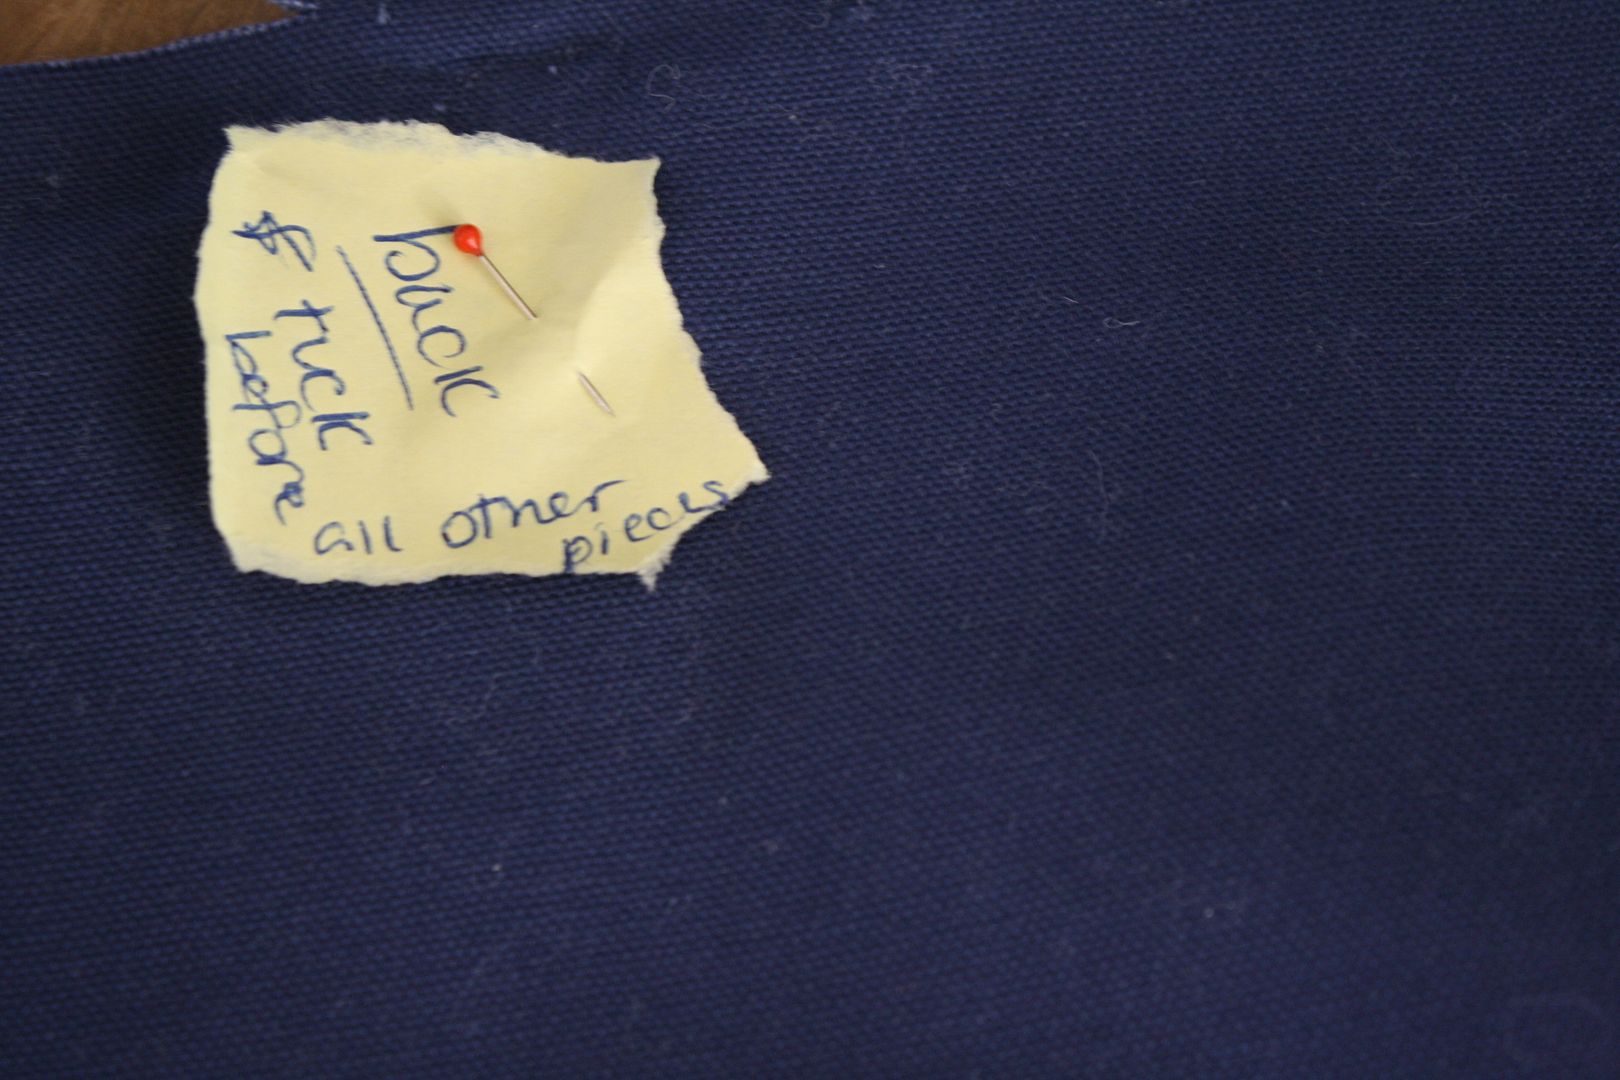
I was not afraid of over labeling. I wanted to make sure I would know exactly how to put this thing back together.
7) Use your pieces as a template and cut your new fabric. I cut a little bit extra around each side just to make sure that I had enough fabric to cover the chair.

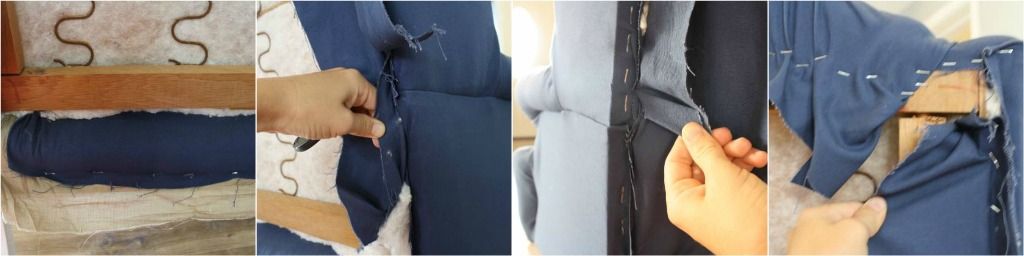
9) Start putting it back together. Start at the bottom of your list and work your way up the top. This will put the pieces back in the opposite order in which you took them off. Because my chair had a lot of separate pieces it was crucial that I knew the order to put everything back together.
10) Sit back and enjoy all of your hard work!
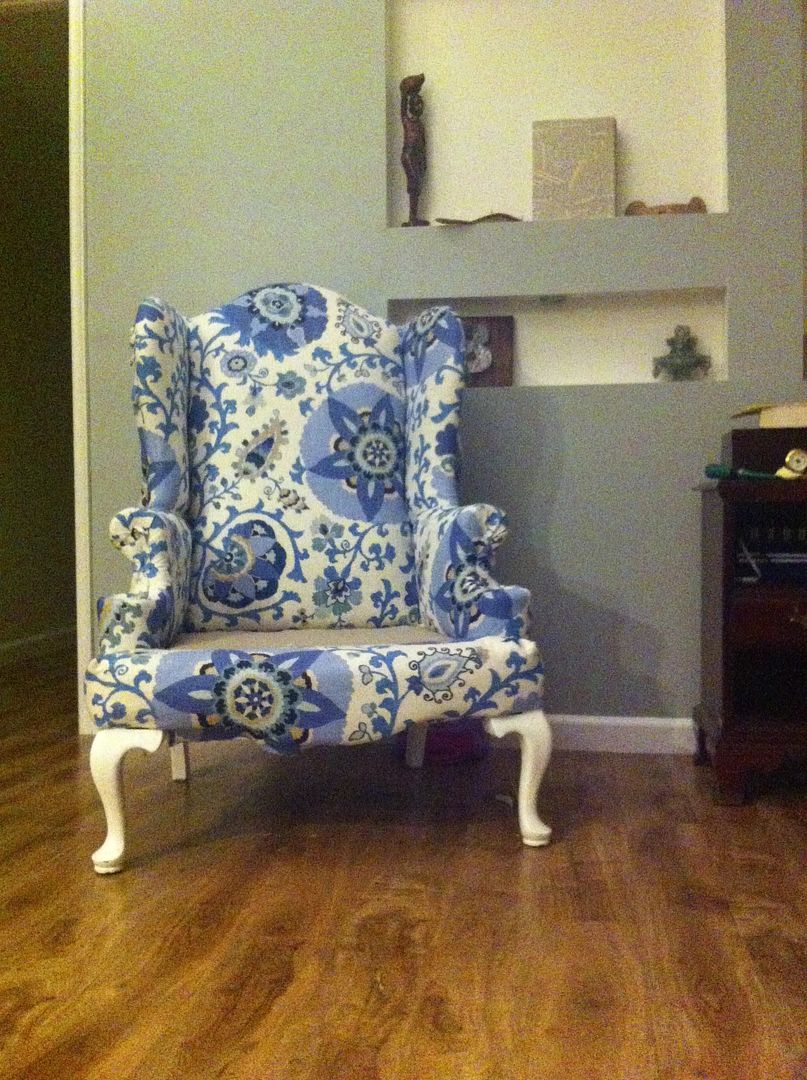
This chair is still not quite finished, still need to pull out the sewing machine and make the cushion...but I am loving it so far.


