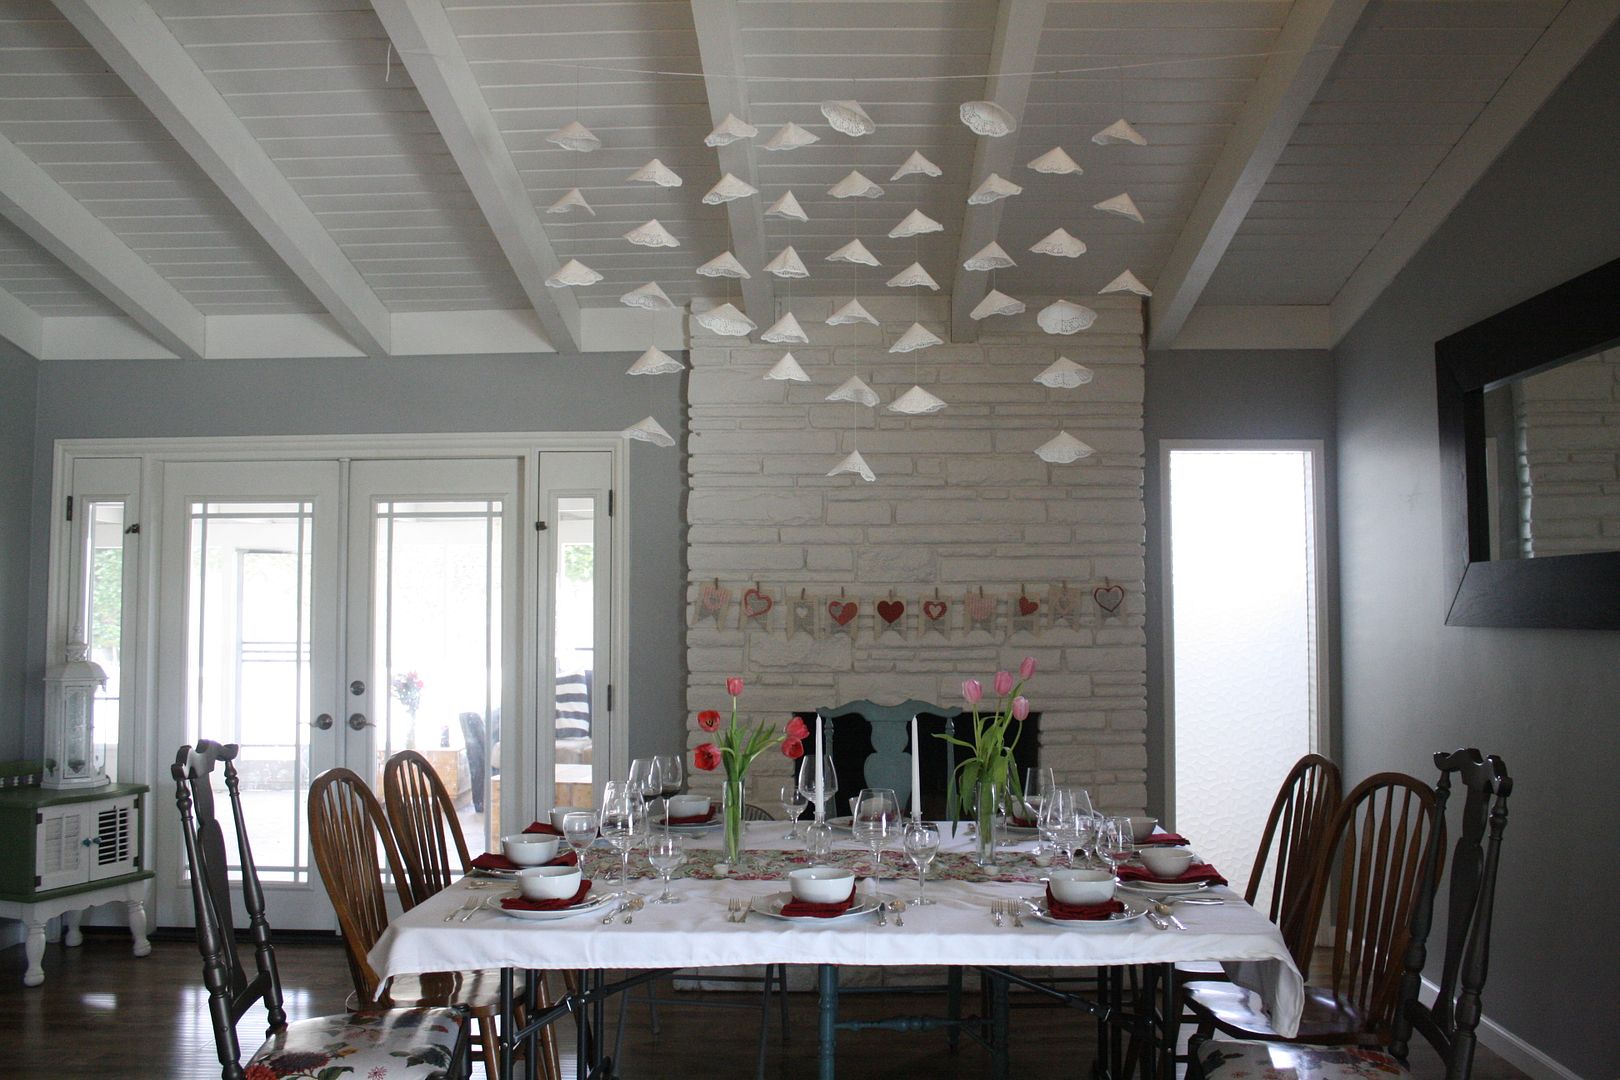
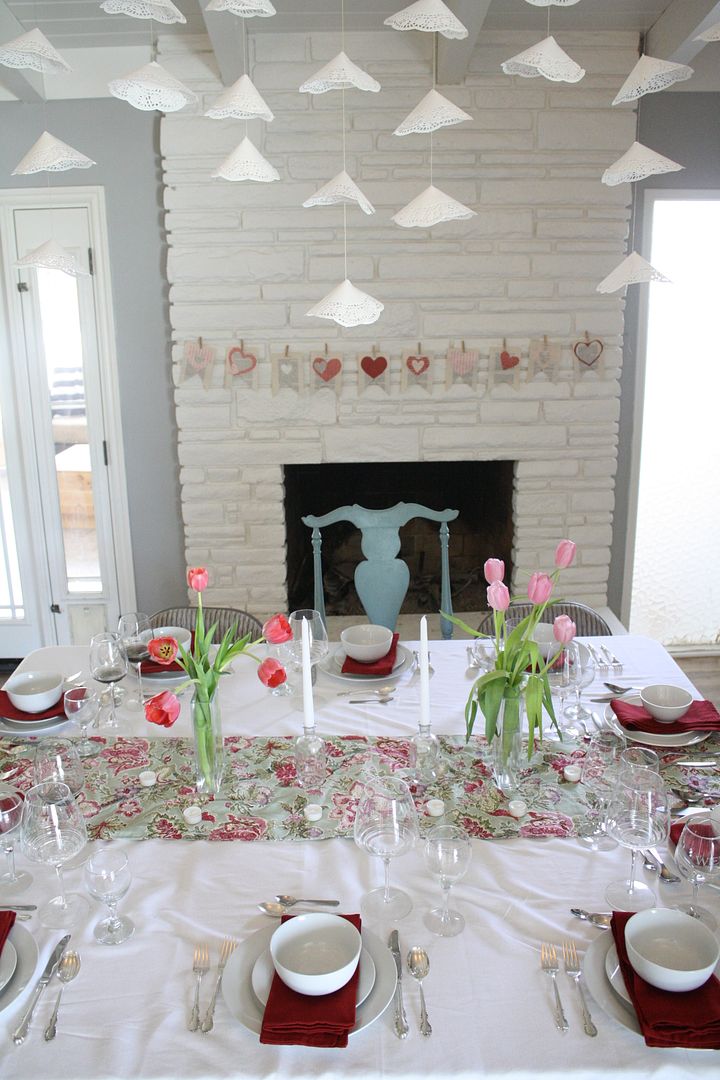
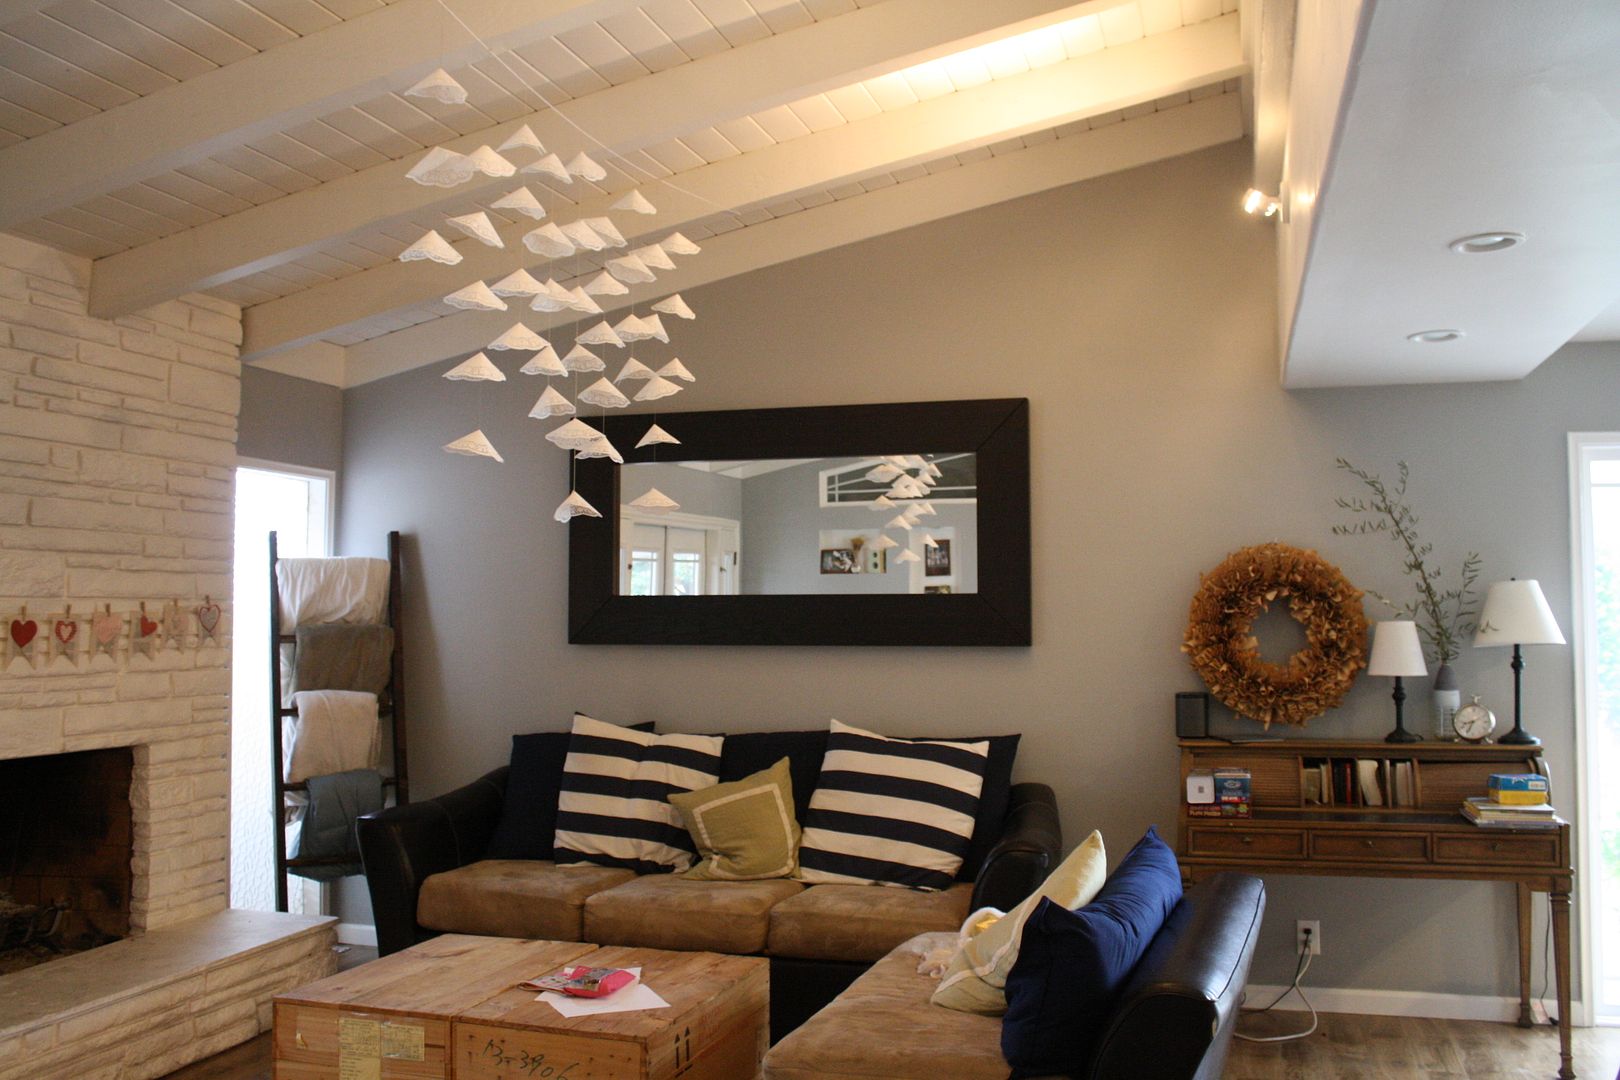
Chris and I hosted a dinner party at our house on February 15th. We took out all of the furniture from our living room and added a giant square table set for 10. I wanted to add a little something to catch the eye, but not take any more much needed space on the table so I came up with a hanging centerpiece...I loved it so much it is still hanging above our coffee table.
This project was super easy and cheap...it would even be fun to use for a photobooth backdrop.
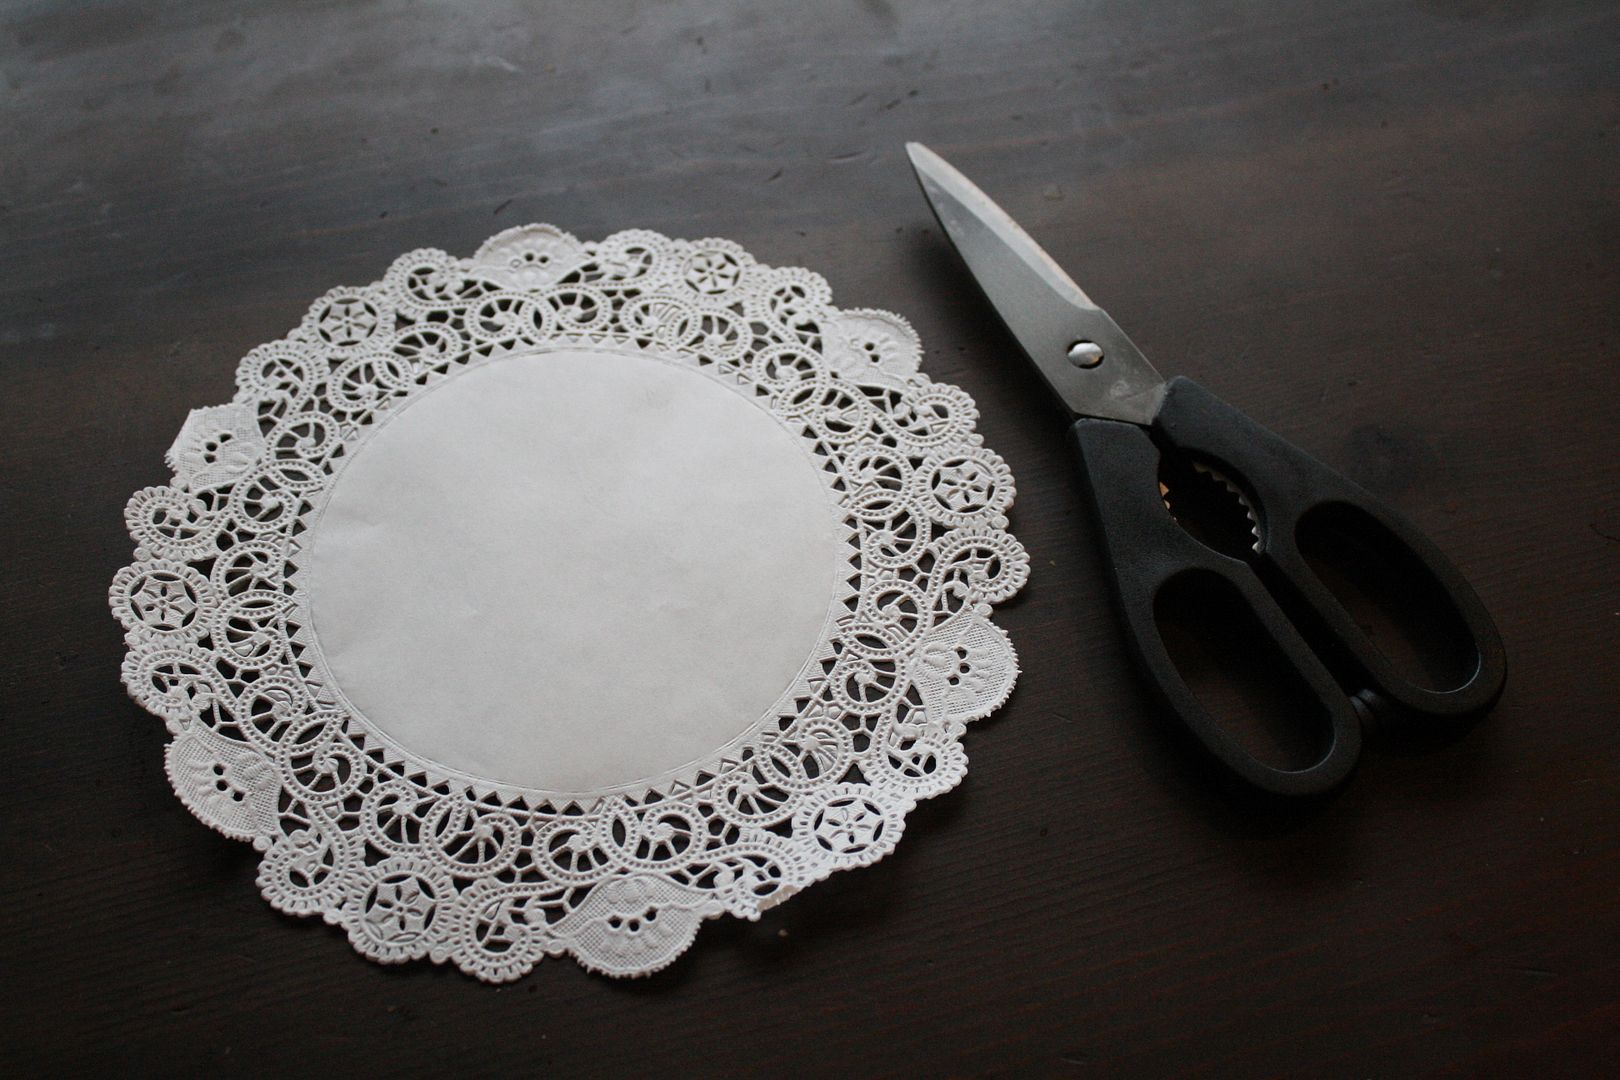
What you need:
Paper doilies
Scissors
Tape
Embroidery thread
Embroidery needle
Yarn or rope to hang doily cones from
How to make:
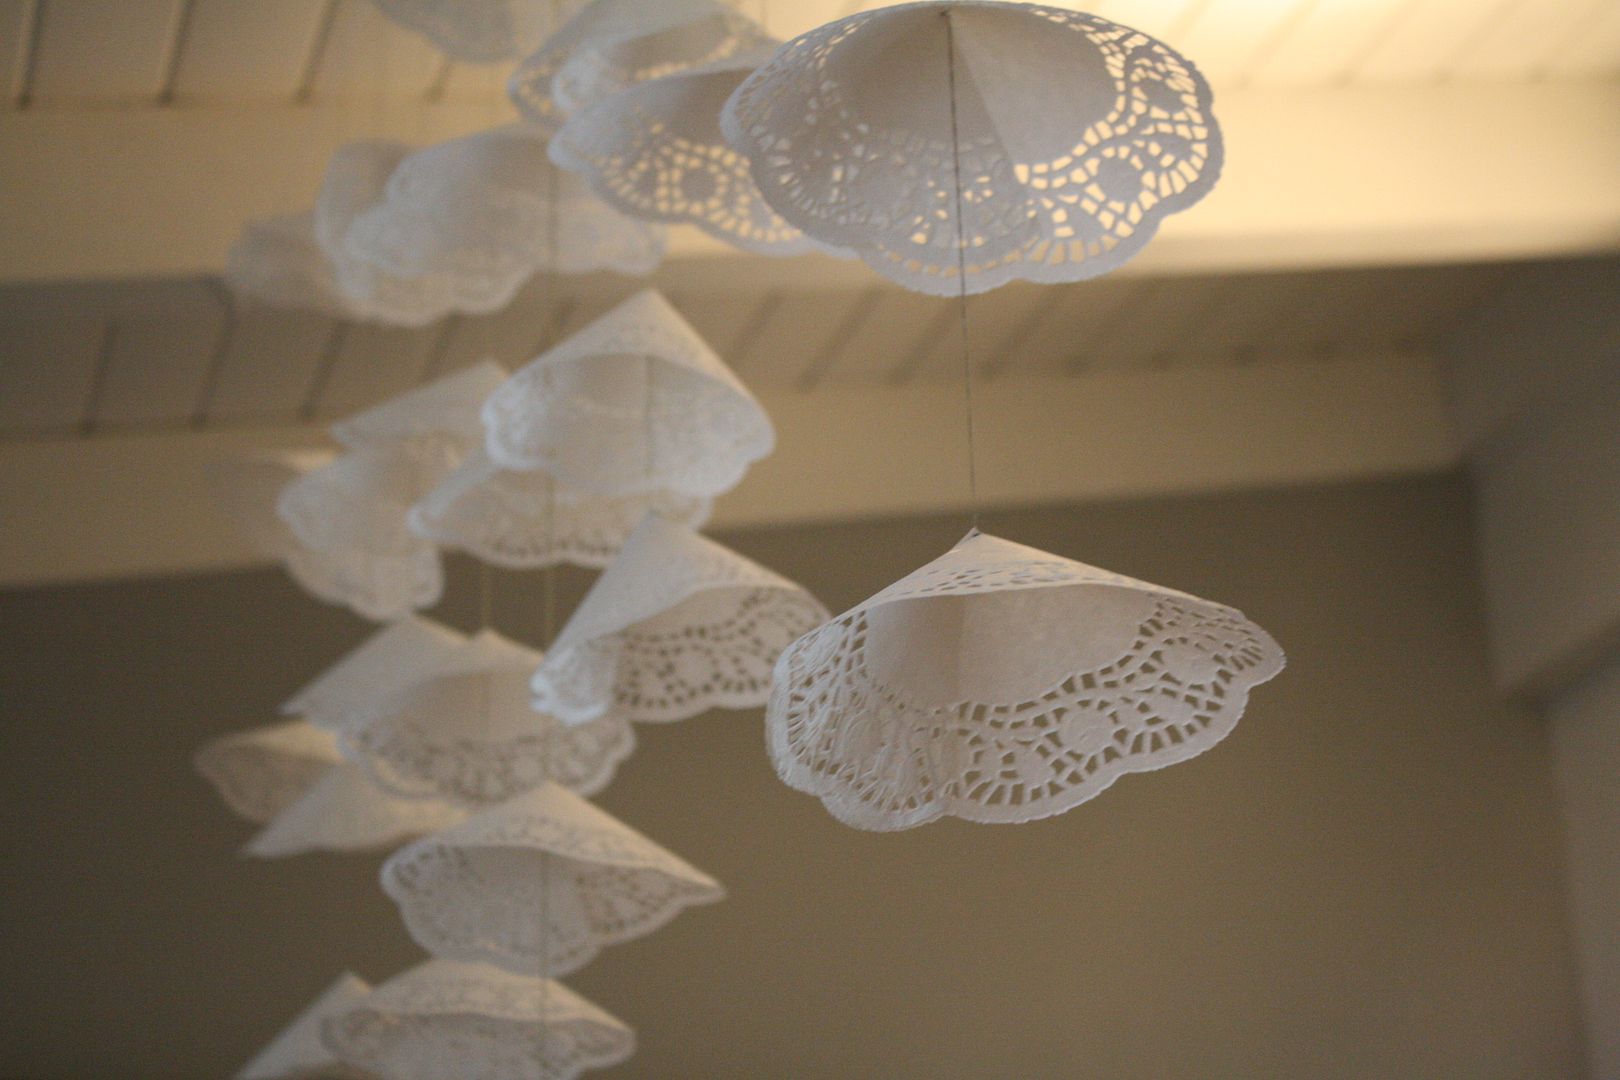
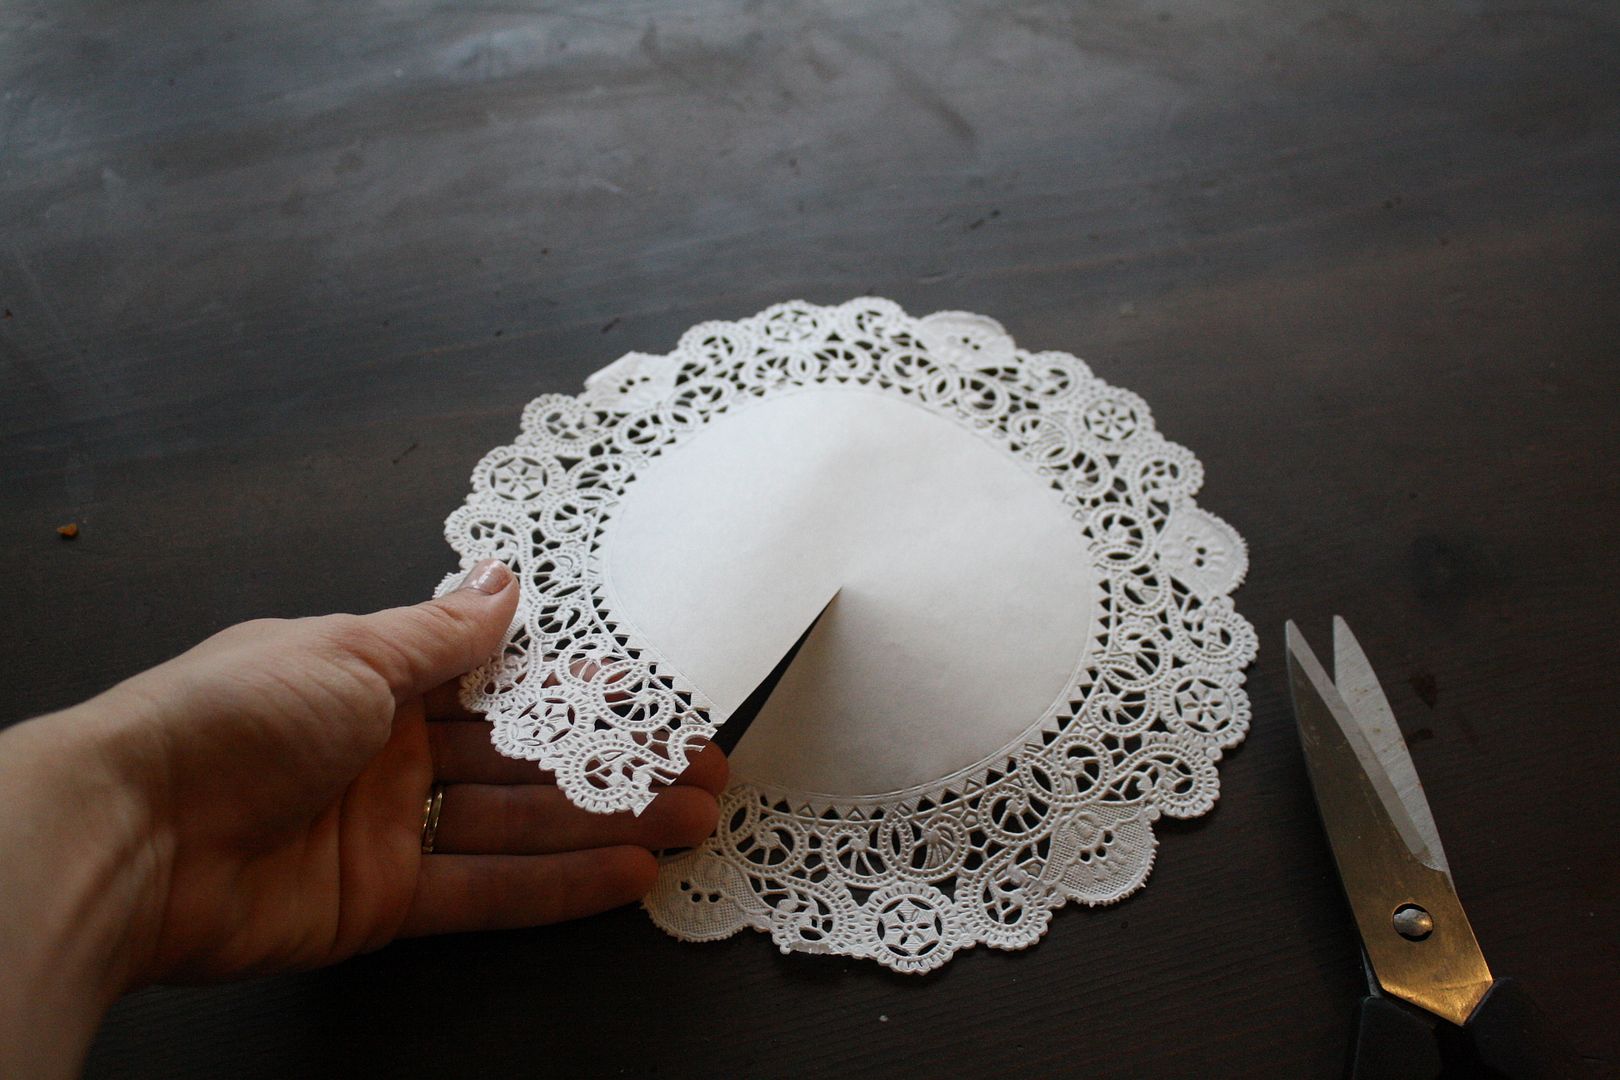
Take your doily and scissors and cut a straight line from one edge to the center.
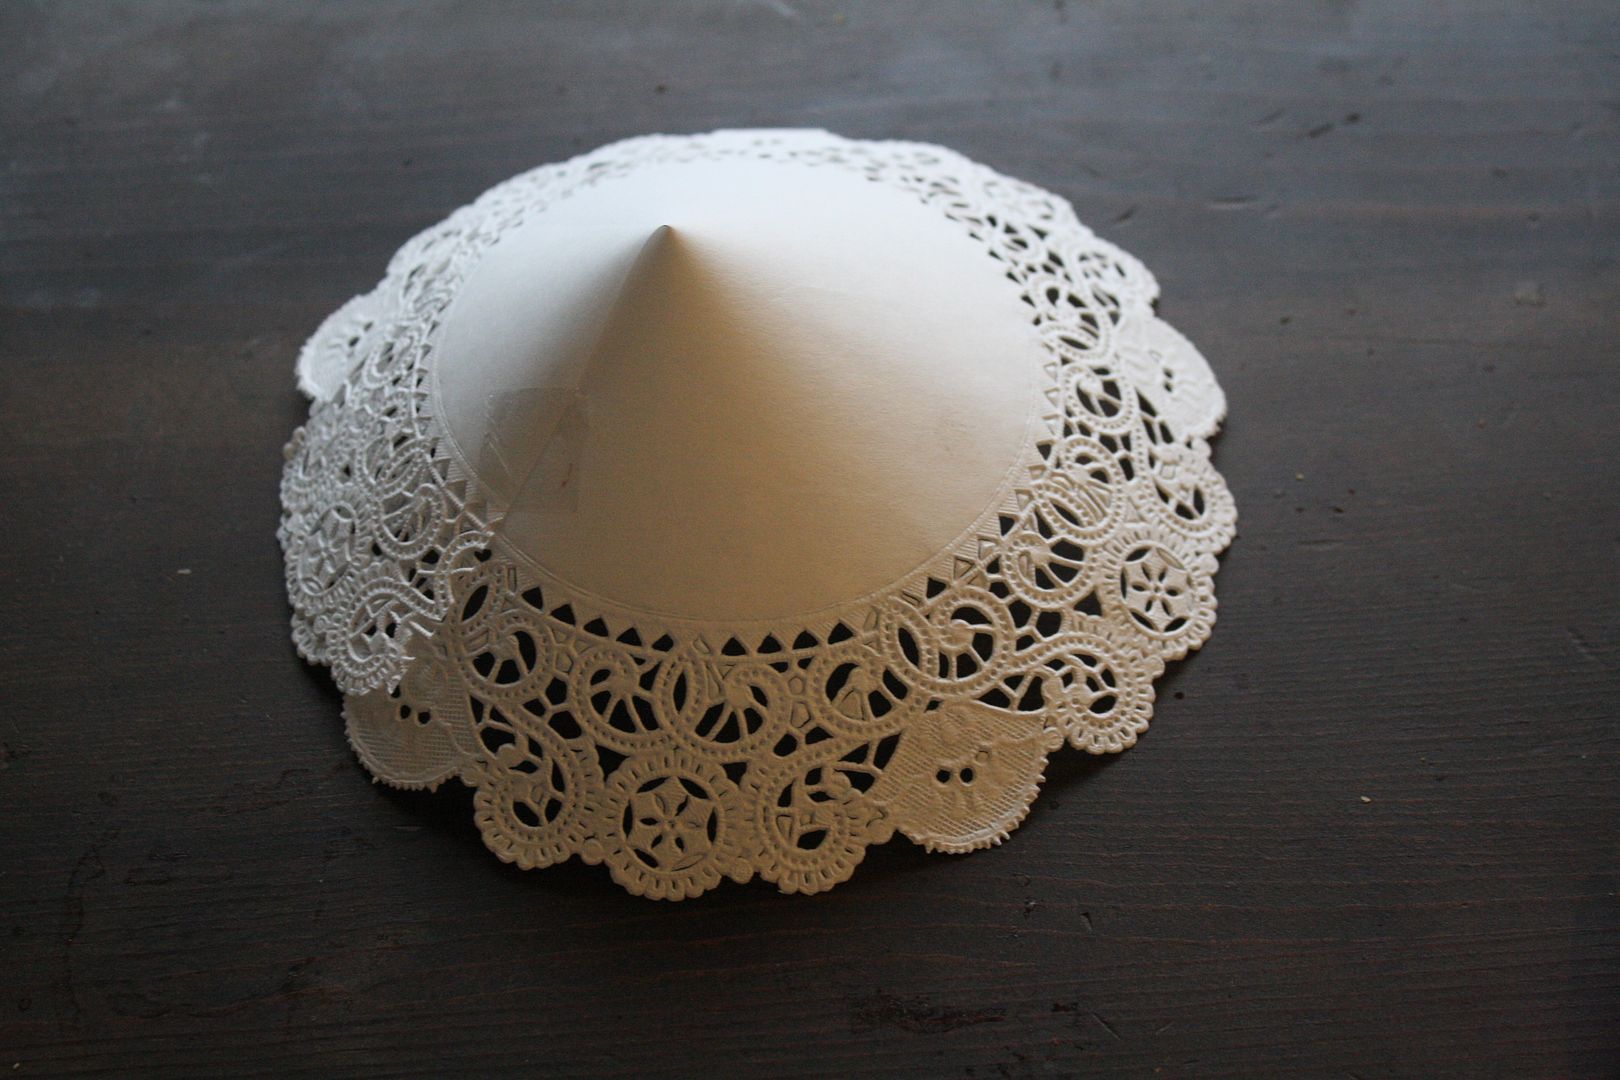
Take the two sides of the slit and overlap creating a cone shape.
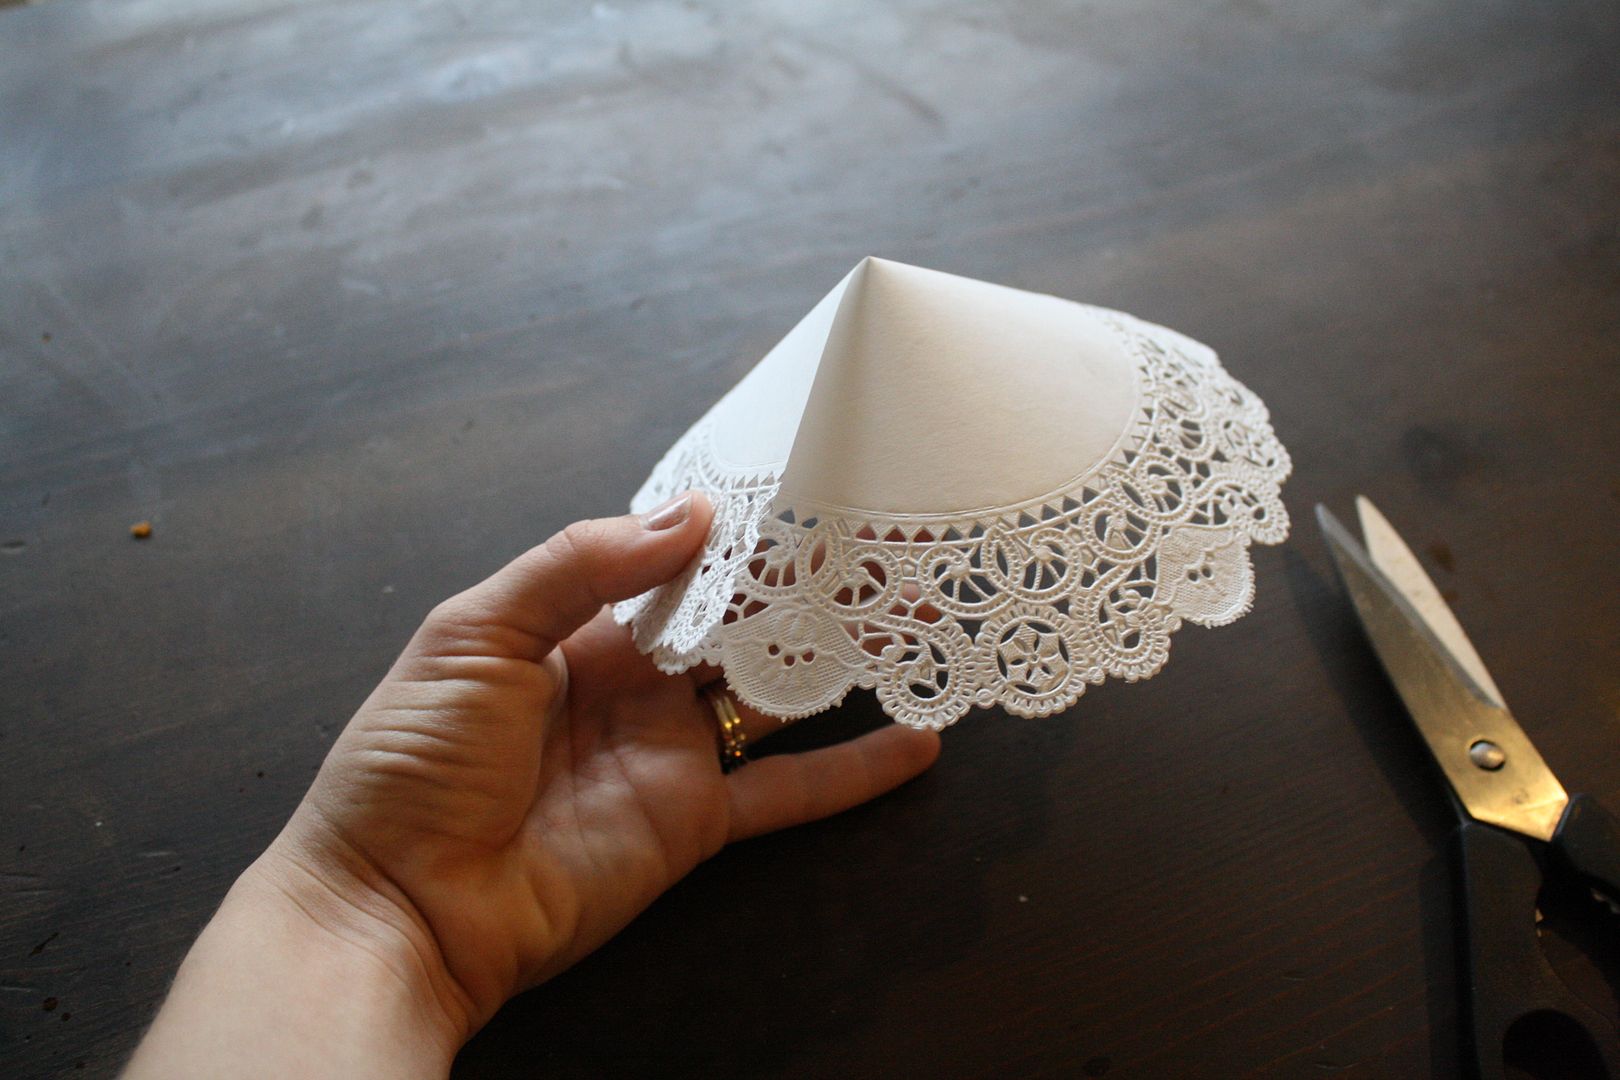
Tape the cone closed
Make a ton of these cones and when done decide how many cones you want to hang on each thread. I mixed and matched so there was some dimension. Using embroidery thread and needle start to thread your cones one at a time leaving a space between each cone. Create a knot at the end of your thread. Pull the needle from the bottom through the point of the first cone, the knot will catch and keep the cone stable. Then with each new cone, thread the string through the cone a couple times. Come up through the bottom of the cone through the point, then thread down through the cone, and back up through the the top so that the thread length is coming out of the point. This will keep the cone in place but allow you to move the cone up and down if the spacing is off in the end. Leave enough thread at the top of the string of cones to tie to a piece of yarn (or rope) to hang.
Cut a piece of yarn and tie your cone strings onto the yarn, evenly spaced. Hang and Enjoy!!!